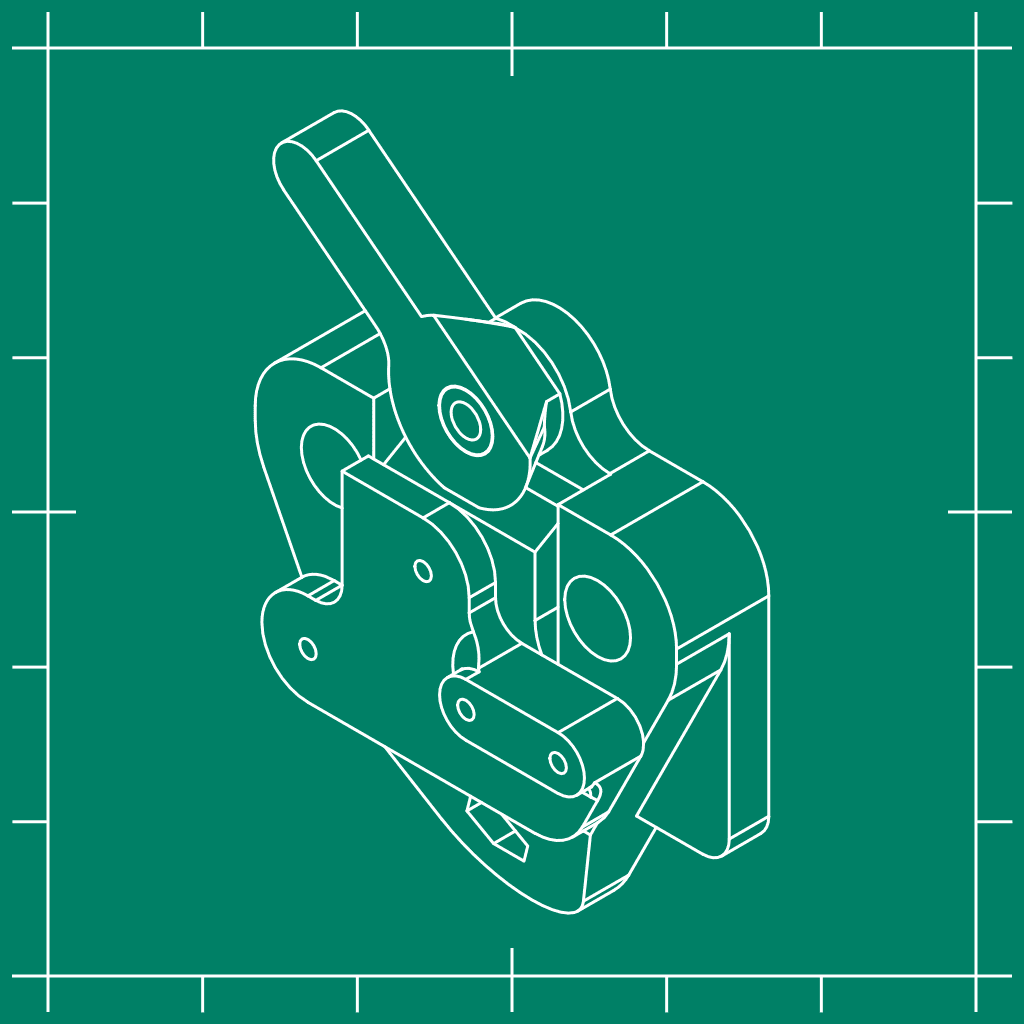
Quick tool change for Creality CR-10
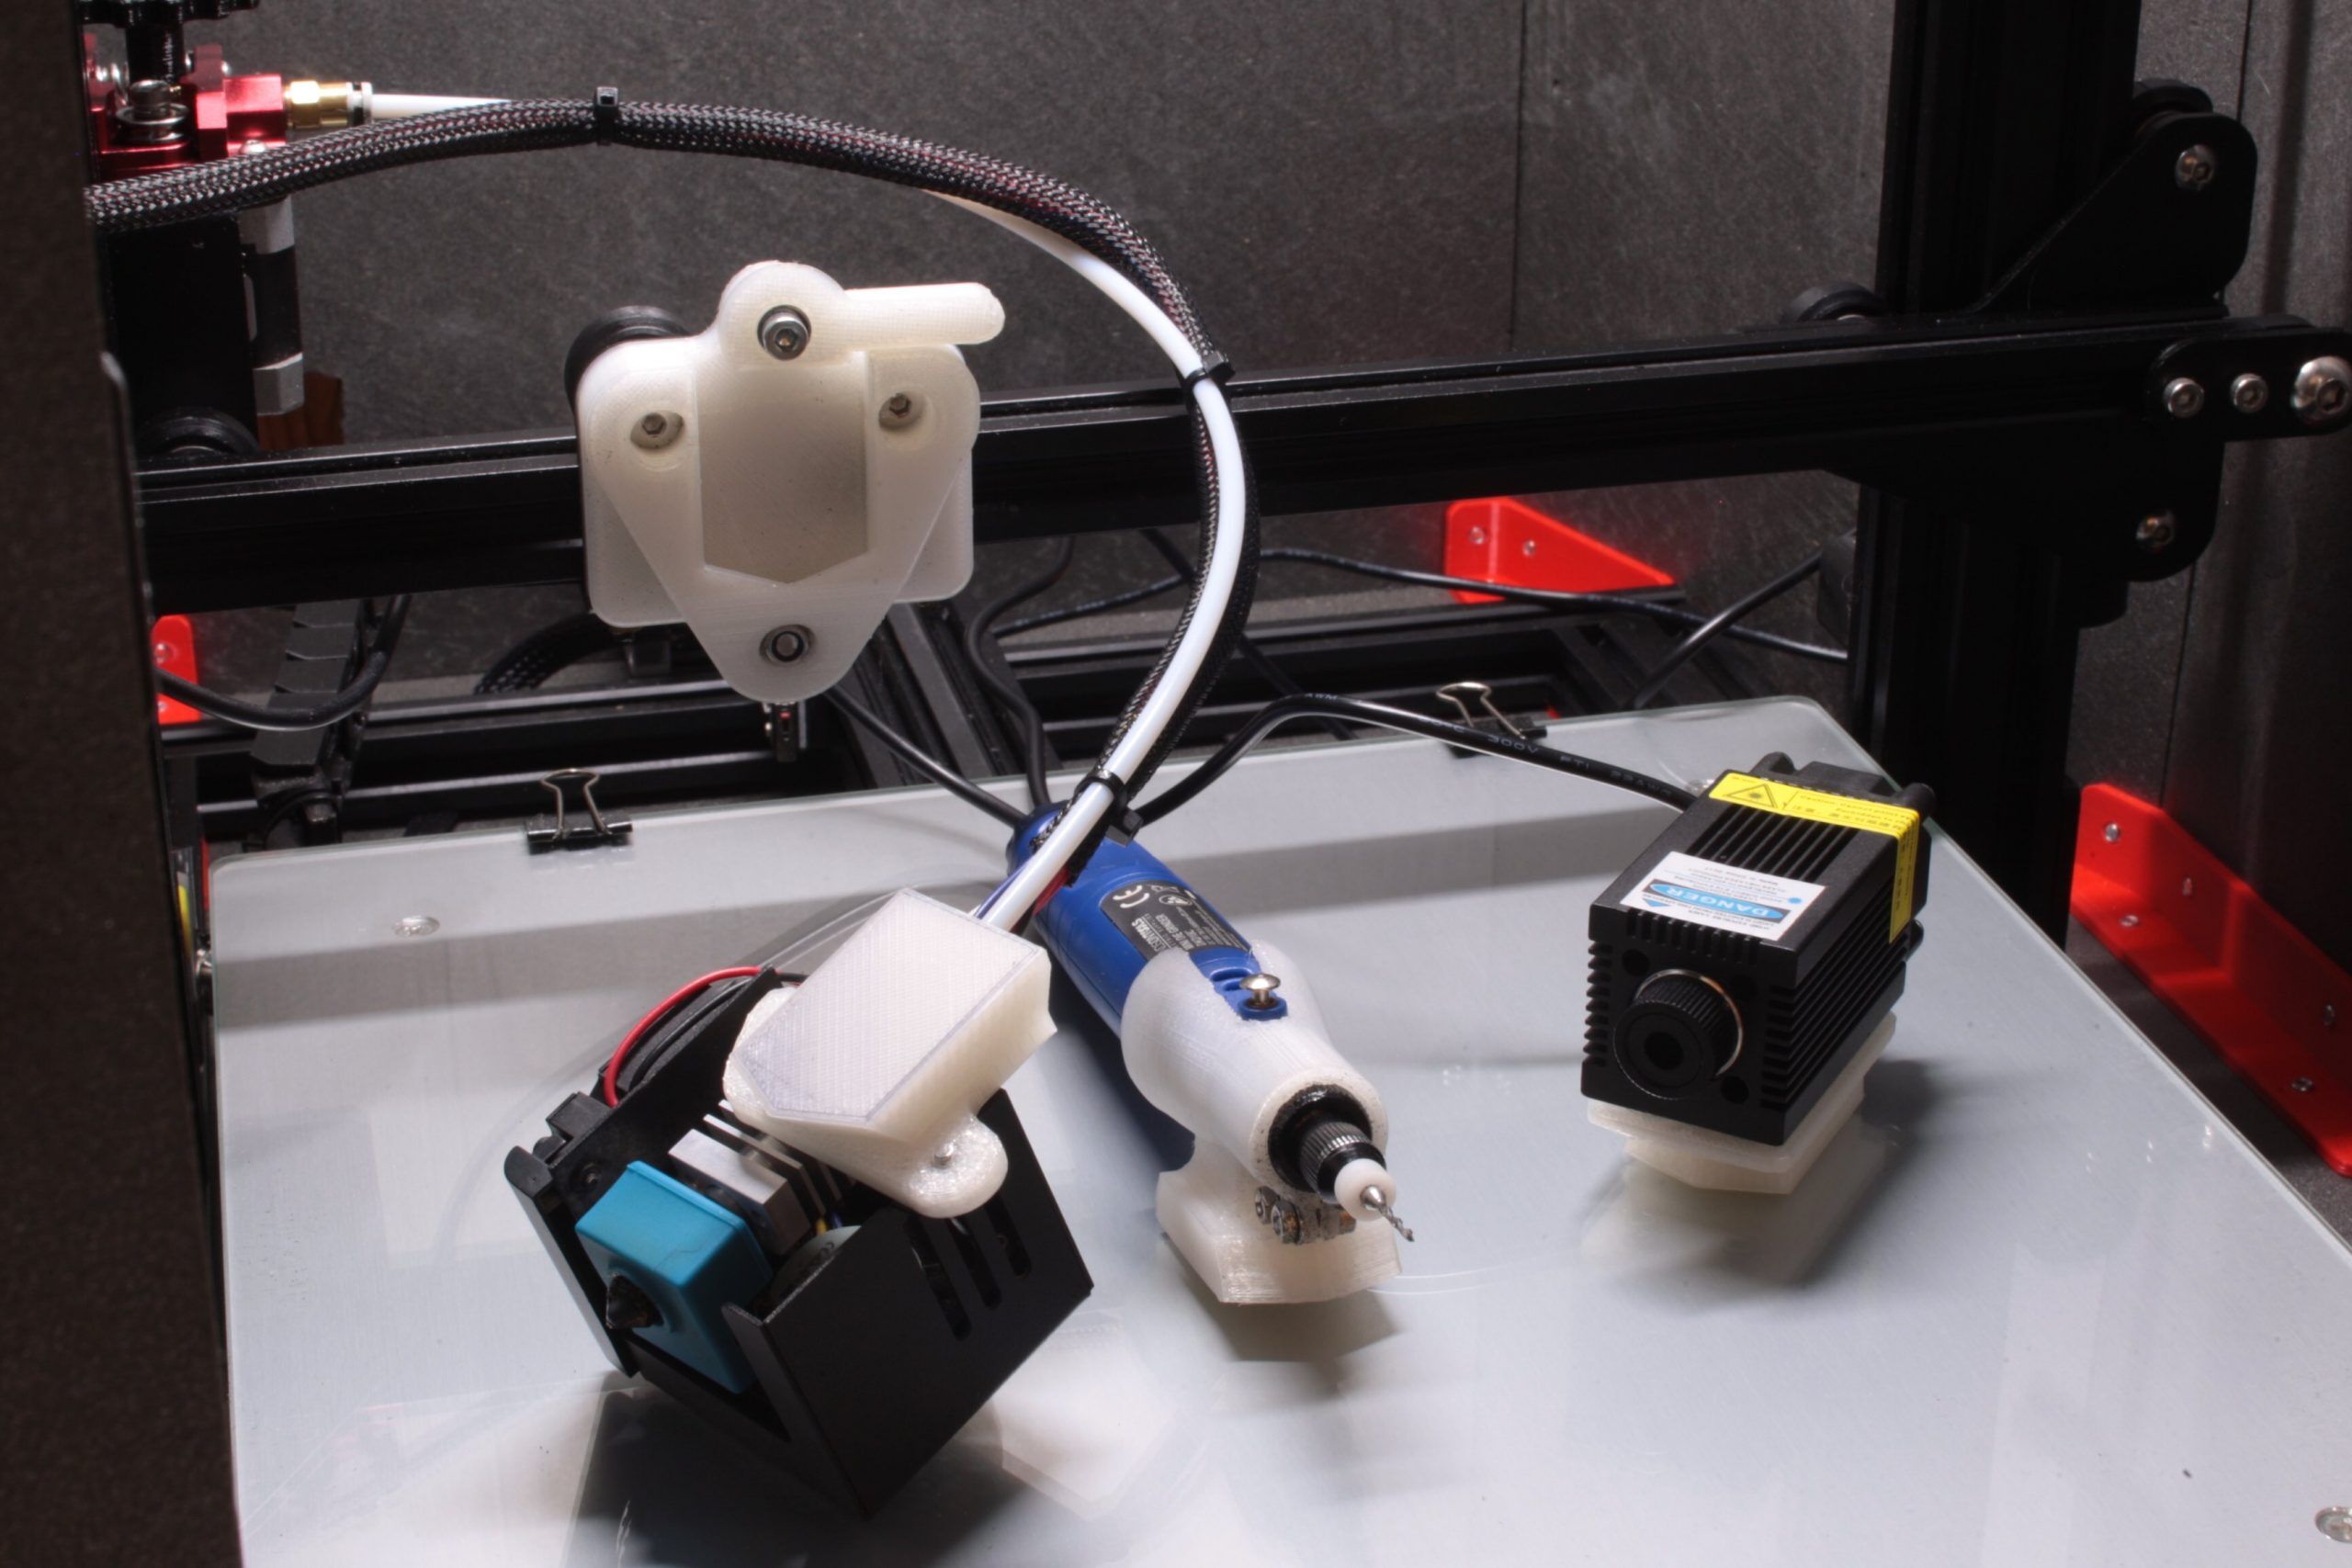
The quick tool change enables to swap between different tools easily. For instance, a laser cutter or grinder.
Suggested price: €3.00
Summary
I decided to upgrade my Creality CR-10 printer and came across this cool laser head which can easily be added to this printer. There are four small neodymium magnets on the laser head that allow it to be attached to the metal extruder shroud. I wasn’t convinced that this is stable enough so I designed a generic tool holder.
This turned out to be much cooler than I expected because I am not only able to place the laser cutter, I can also add a grinder and suddenly I have a tabletop CNC milling machine! You can even change between hot ends so you don’t have to unscrew the nozzle if you have multiple hot ends and extra cables/connectors. It is also easier to clean or replace the nozzle because you can hold it in your hand.
The position remains stable if you replace the tool. I tested this with an indicator (DTI) so no need to level your bed after replacing the tool. However, I recommend to add an adjustable Z-stop. I am personally quite fond of this one https://www.thingiverse.com/thing:2757323. This makes nozzle changes much easier.
I have created a YouTube video in which I explain how I came up with this idea and how it is mounted to the 3D printer. Enjoy!
Print Settings
Printer: Creality CR-10
Rafts: No
Supports: Yes
Resolution: 0.2
Infill: 50%
Filament: eSun Nylon White
Notes:
Do not use PLA since this is probably not strong and temperature resistant enough. I use a Micro Swiss hot end for printing Nylon and the cooling block stays rather cool. I don’t know about stock cooling blocks so check this out before mounting this. I think you can alternatively use ABS or PETG but I haven’t tested this.
EDIT
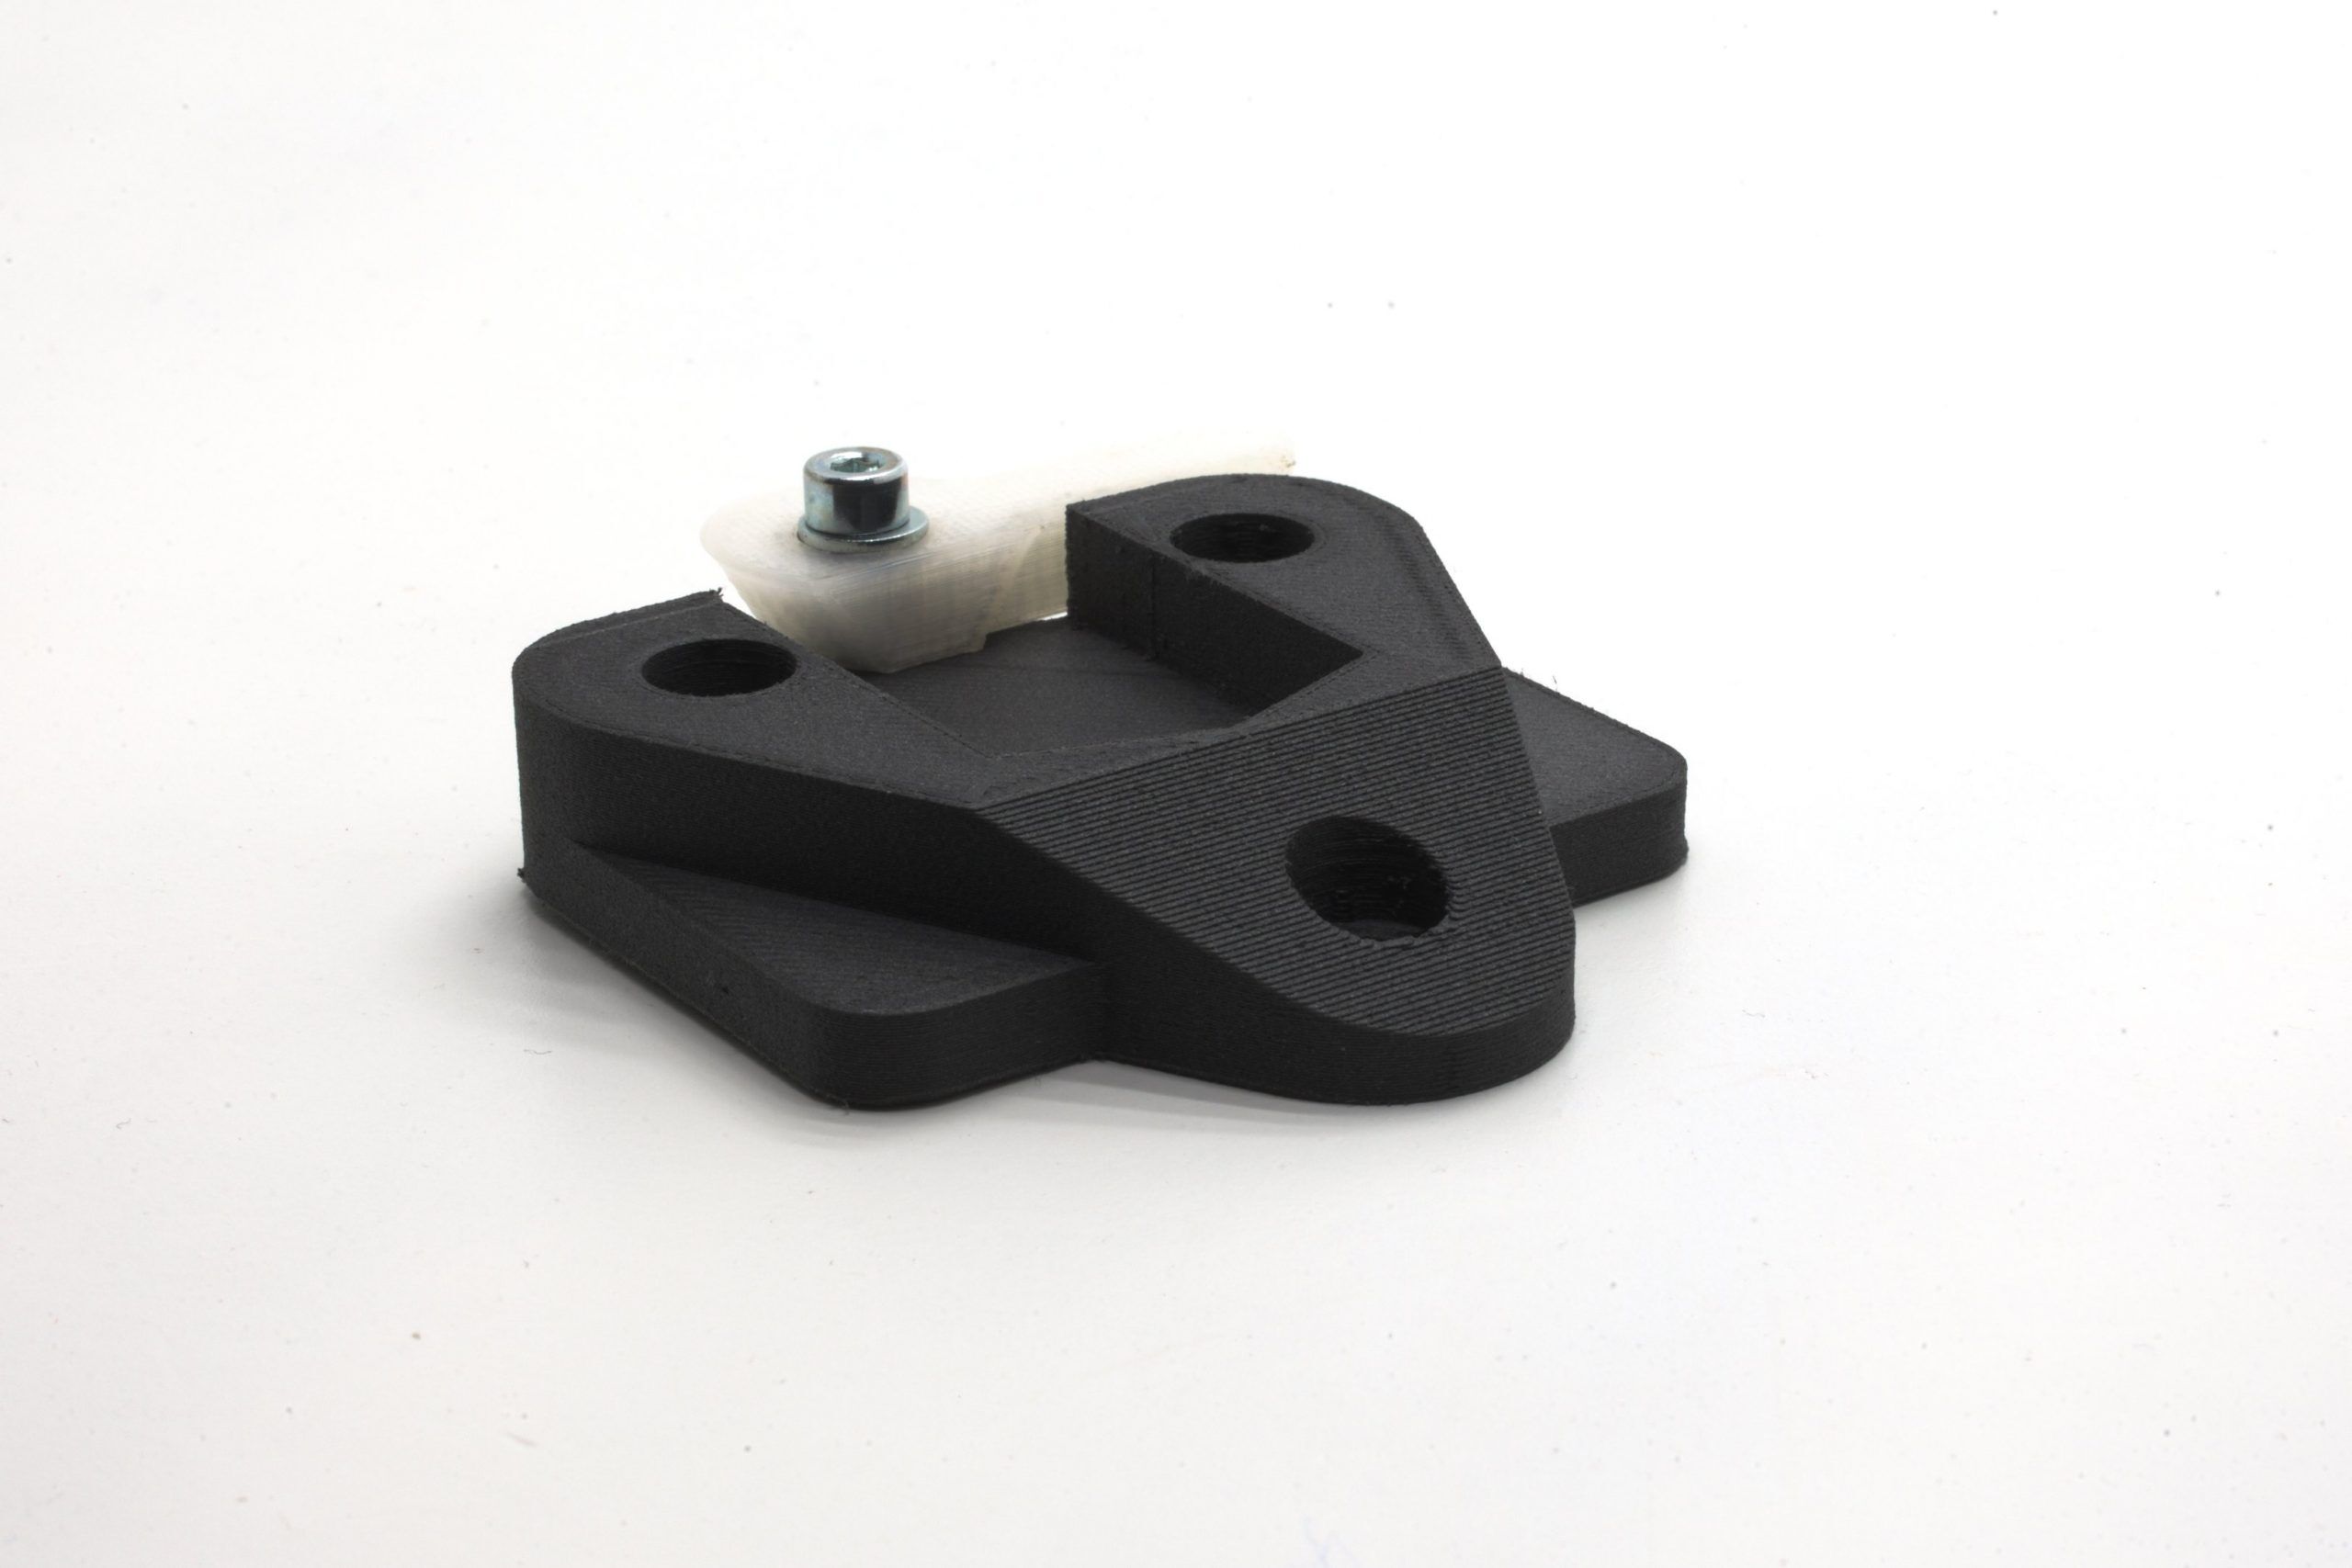
I have printed the body out of carbon fiber reinforced nylon filament to make it stiffer and this came out great as can be seen in the second picture! The lever is still printed in nylon because of its low friction and its abrasion resistance.
Post-Printing
I was able to use the same nuts and bolts which were already mounted to the gantry because they were just long enough. Because lock nuts are used you must hold them in place with a spanner or similar. This is not possible with the nut at the bottom. Do not place the bolt the other way in (similar to the top bolts) like I did because the nut will collide with the frame. You can use a flat screwdriver to prevent the nut from rotating.
You need a m4×16 bolt, a nut and washer to mount the handle to the base. This is a tight fit intentionally and you probably have to use an 8mm drill to widen the hole of the handle a little.
Beware that the nozzle has an offset in the Y-direction after installing this holder so its homing position is not above the print bed anymore. This can easily be fixed by moving the Y-stop at the back a bit to the front. This comes with the cost of a slightly smaller printing area.
Updates
Update V2
Some people had issues with the tight fit and the collar of the base snapping off. I have added a chamfer to this collar to make it stronger. I have printed this with PLA and they turned out very good to my opinion. V2_Base and V2_Lever are the updated files.
Thanks a lot to anyone giving feedback, this helps a lot with optimizing this design!
Update V3
I have modified the hole in the bottom of the base which is now hexagonal so it will hold the nut in place. This also prevents a mistake by putting in the bolt the wrong way. That I have not done this at first is still a mystery 😛
Update V4
I have received the question if this thing will fit the Ender 3 which I did not know for sure. A colleague of mine has this printer and he was willing to test this for me. I had to do some minor changes to it:
- The gap in the bottom of the base which fits over the inserts in which the hot-end is placed when the printer leaves the factory was just not deep enough. It has now a depth of 5mm.
- The holes seemed not to align properly but the center distances were the same. I think this was due to tolerances and I found out that the 3 holes were 5mm which is too small for M5. These holes are a bit bigger (5,8mm) to make it fit.
These changes do not affect the compatibility with the CR-10, even better, it should fit even easier now!
You must be logged in to post a review.


Reviews
There are no reviews yet.