Creality Sermoon D1 Y-axis upgrade
Suggested price: €3.00
Summary
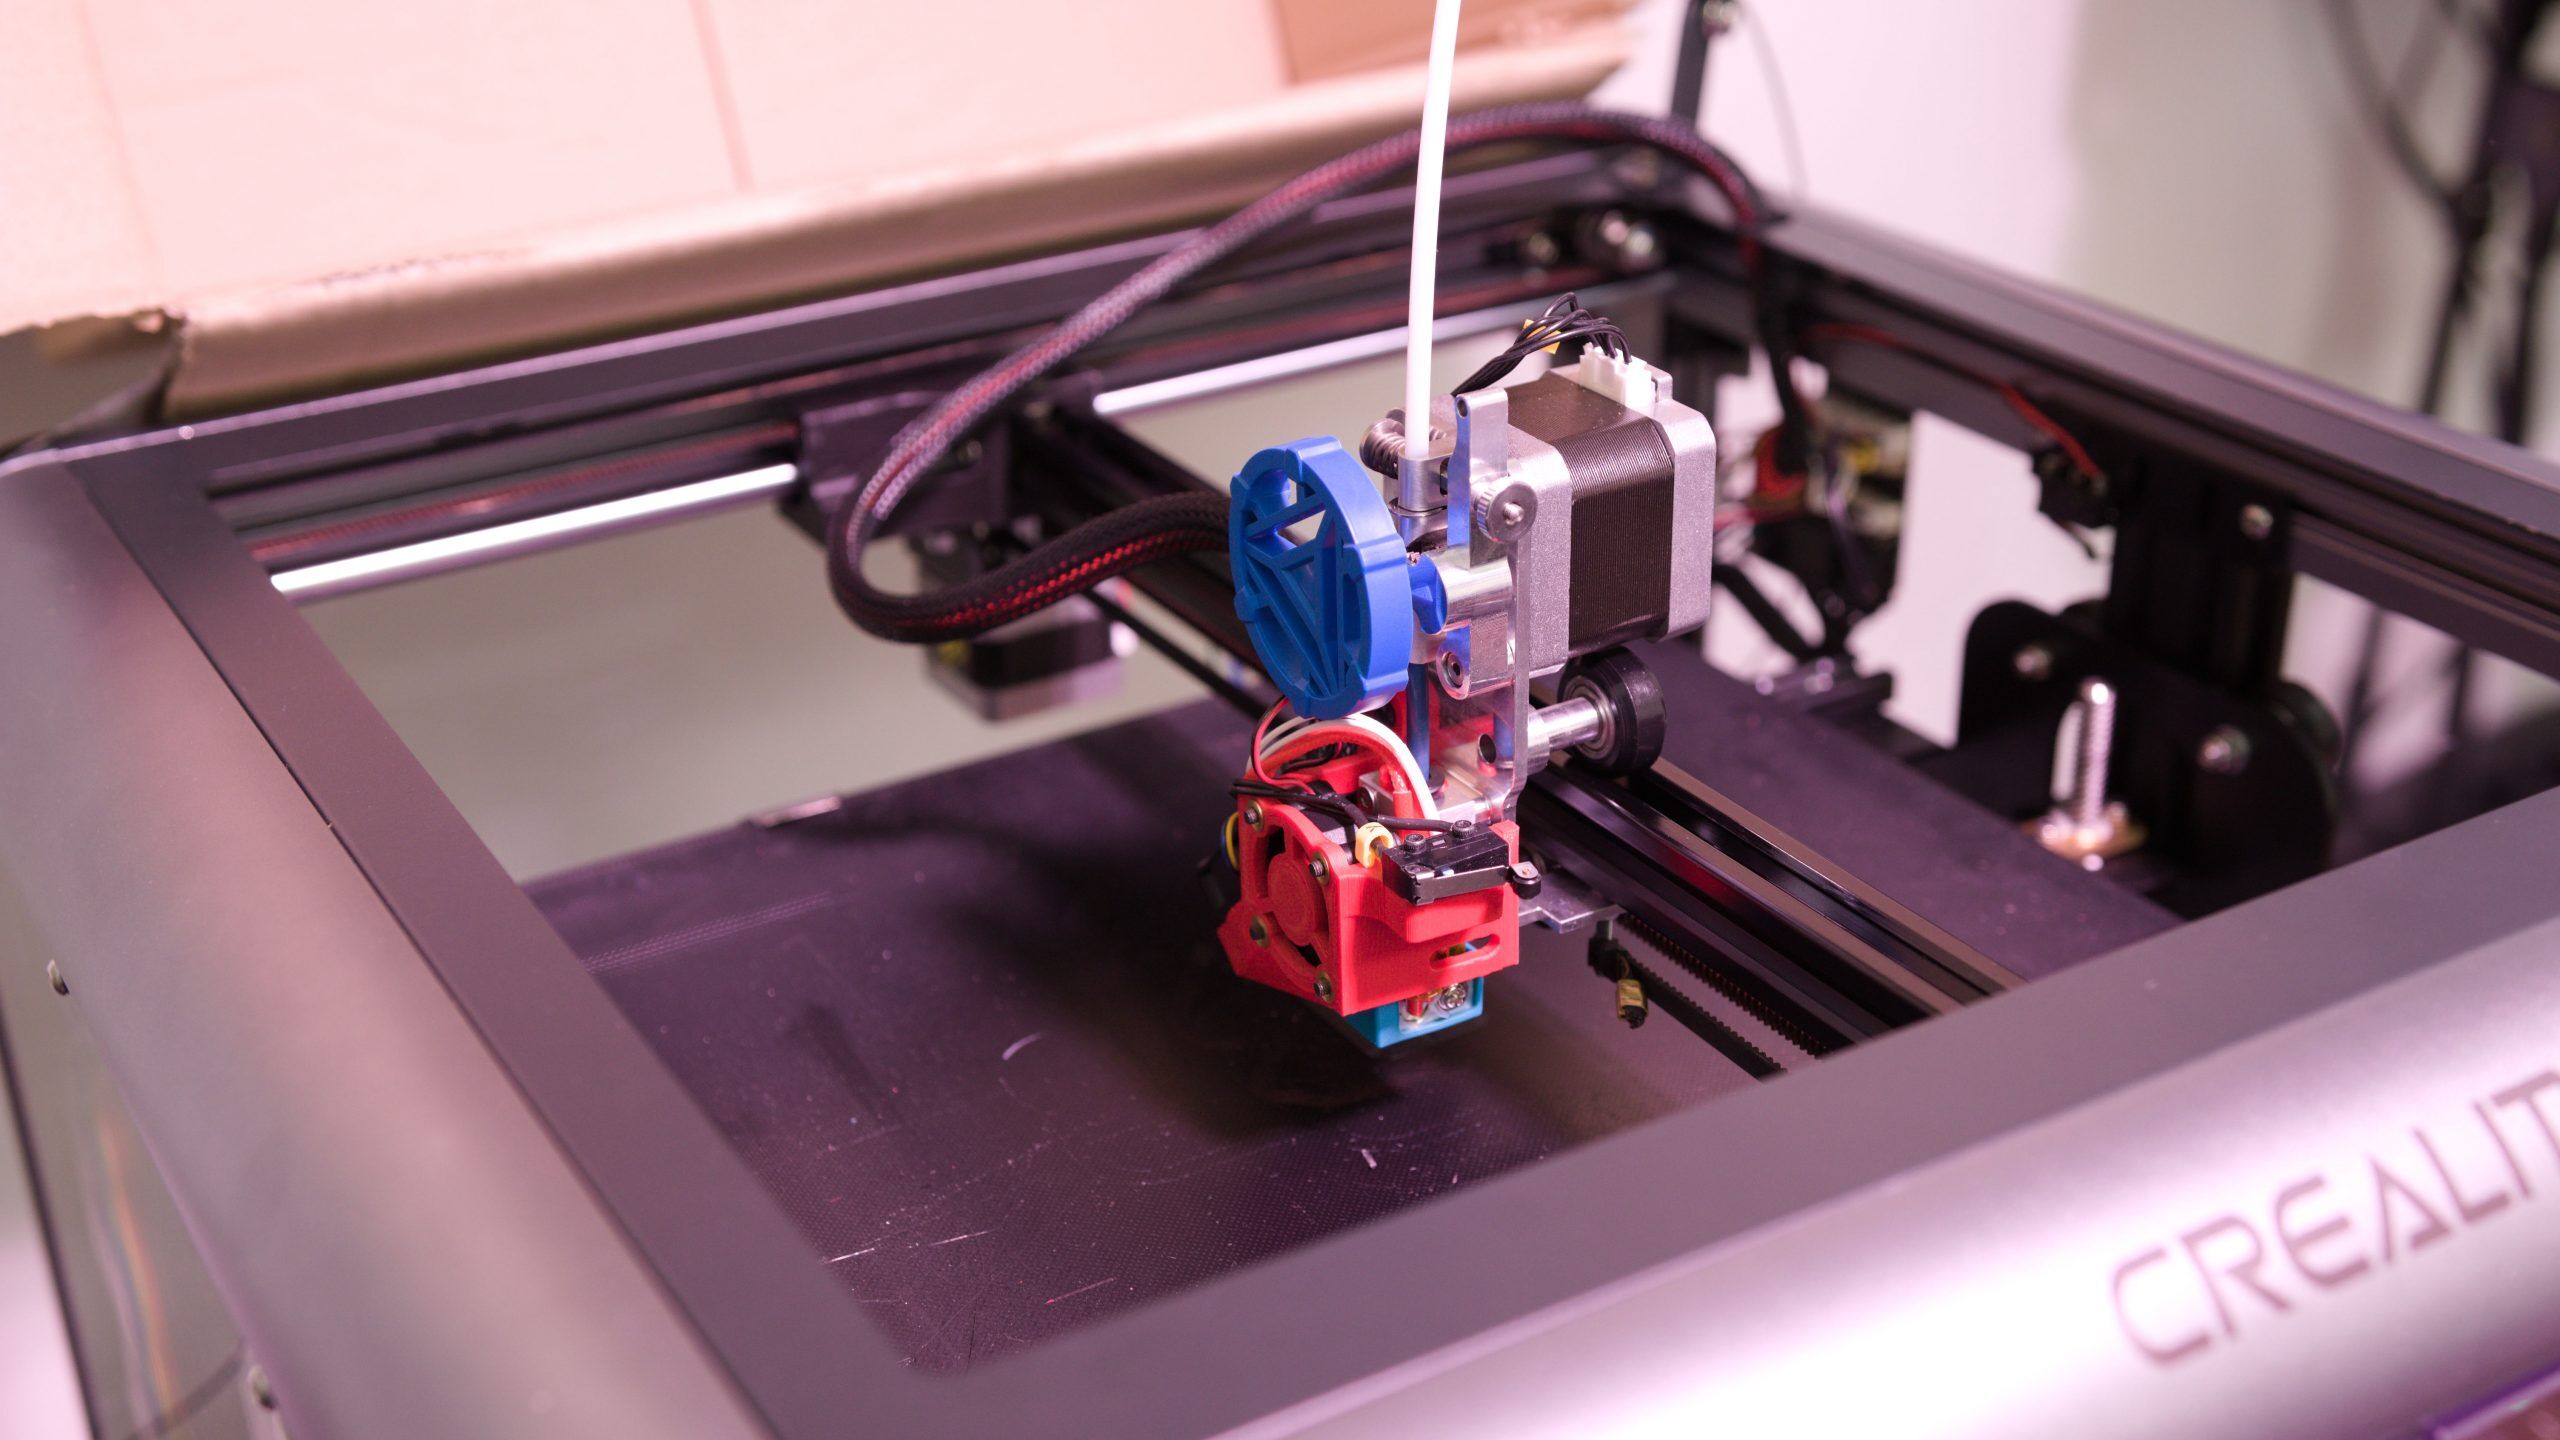
I like the Creality Sermoon D1 due to the looks and the way that it’s built. However, I don’t like the actual printing performance and at the end of the day, this is what matters. Besides some weird design choices, like you can’t touch the touchscreen while the door is closed (which I can live with), the extruder underperforms in my opinion. I managed to print PLA successfully with it, but you could hear the extruder skipping. Just forget about ABS… You can’t just put after market hotend on it, until now!
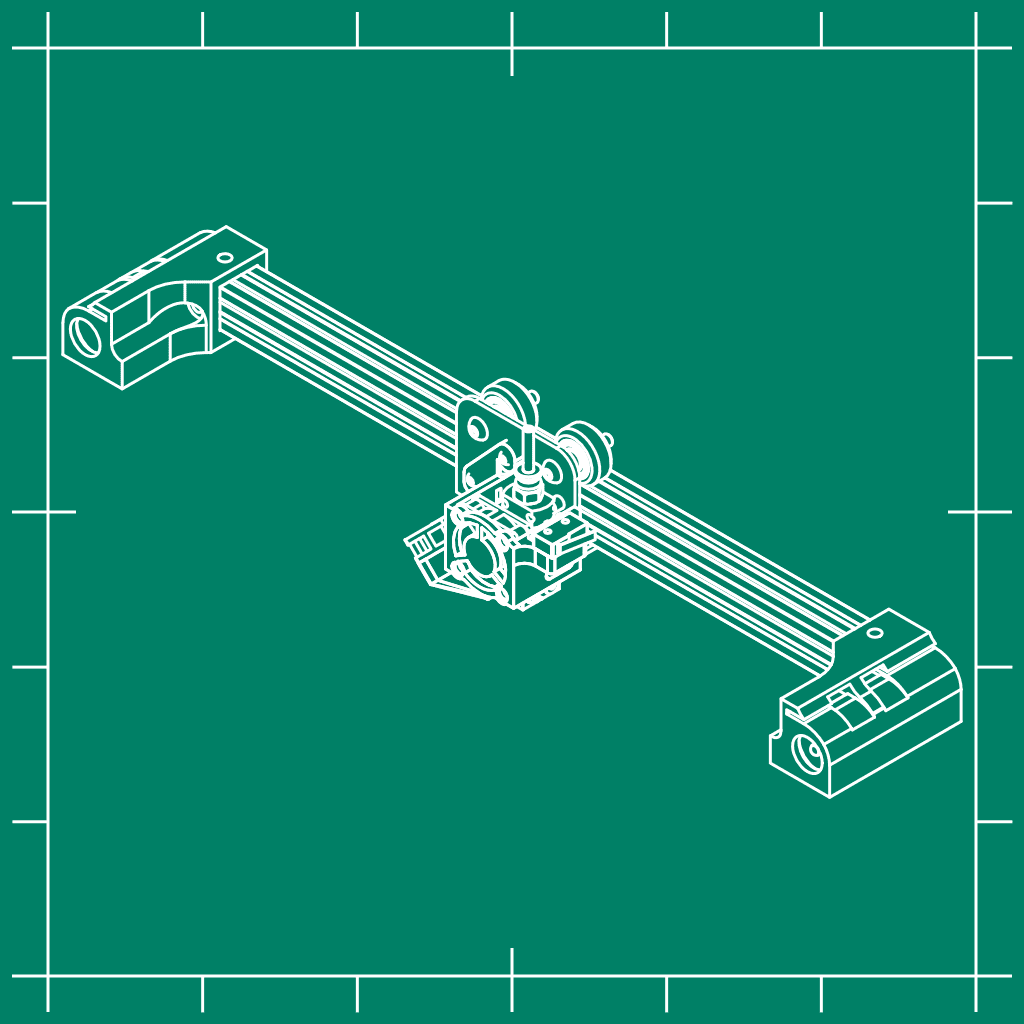
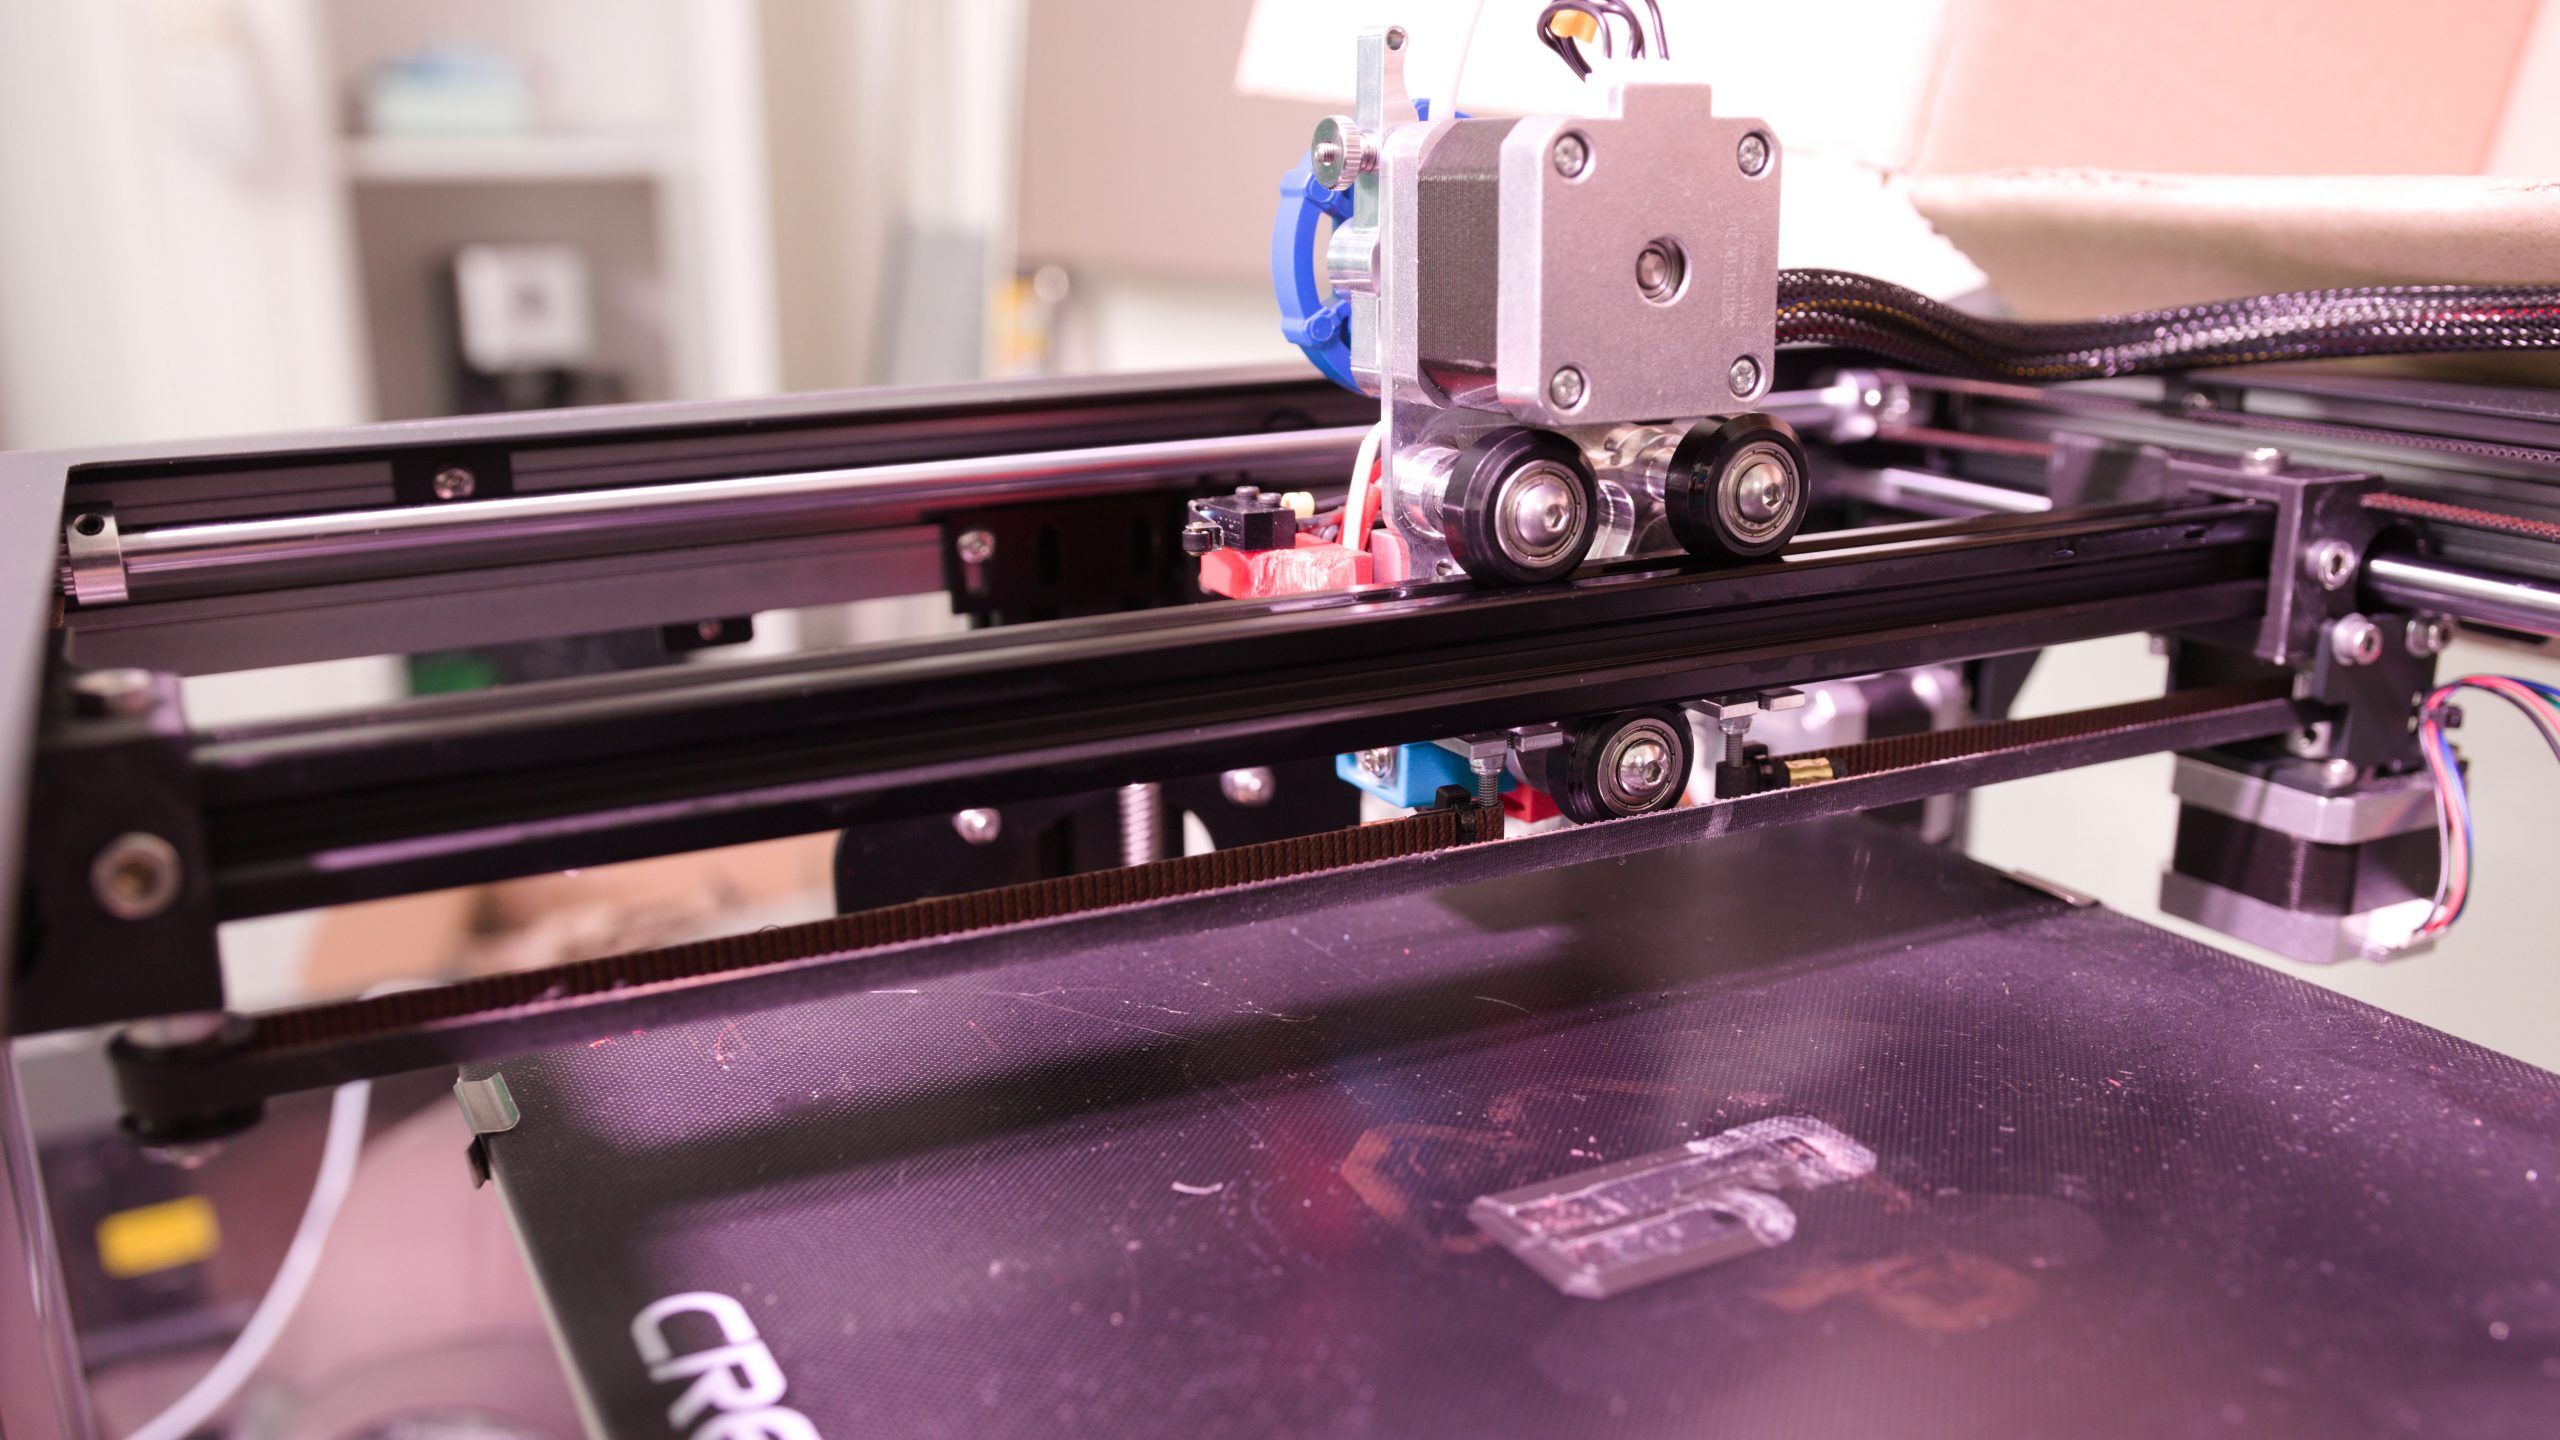
With this mod the two linear rails are replaced with a standard 2020 profile as used on the standard Ender, CR printers etc. There are plenty of aftermarket options for those printers and I added a Microswiss direct drive extruder to it. This printer performs outstandingly now! Since the stock hotend is not full metal (as I thought it was) it’s not safe to go to higher temperatures, but this mod enables possibilities like this. It’s still a bummer that the software is closed source, so you might need to add another main board to get to higher temperatures. If you don’t like the mod, you can always go back since there are no irreversible actions.
I made a video about the making of this modification:
PROPER PRINTING PROVIDES THE SOFTWARE AND DESIGNS TO YOU “AS IS” AND WITHOUT WARRANTY OF ANY KIND, EXPRESS, STATUTORY, IMPLIED OR OTHERWISE, INCLUDING WITHOUT LIMITATION ANY WARRANTY OF MERCHANTABILITY, FITNESS FOR A PARTICULAR PURPOSE OR INFRINGEMENT. NO ORAL OR WRITTEN INFORMATION OR ADVICE GIVEN TO YOU BY ANY PROPER PRINTING EMPLOYEE, REPRESENTATIVE OR DISTRIBUTOR WILL CREATE A WARRANTY FOR THE SOFTWARE, AND YOU MAY NOT RELY ON ANY SUCH INFORMATION OR ADVICE.
On a less formal note: Don’t hold me responsible when you destroy your printer or set your house on fire.
Print settings
Printer: Standard printer
Rafts: Depends
Supports: Yes
Resolution: 0.2
Infill: 30%
Filament: ABS 3D4Makers
Notes:
The guiding blocks can be printed out of PLA or PETG as well, but if you’re going to enclose it you’d better print it out of ABS. The duct must be printed out of ABS, polycarbonate or Nylon since it’s quite close to the hotend. The stock fan duct will collide, but this can be solved by moving the X-homing switch which does decrease the build volume.
Parts needed
The parts you’ll need besides the the 3D printed parts and the components which come with the printer are:
Gantry
- 1× 2020 profile which must be cut to a length of less than 366 mm (recommended 365 mm)
- 6× m5×10 screw to mount the guiding blocks to the profile
- 6× T-slot nuts
- 9× standard m4 brass insert (5.5mm outer diameter) to mount the set screws, pulley and motor holder.
- 2× m3×20 screw to mount the belt (more info in the Mounting instructions tab)
- 2× zip tie to mount the belt
Fan duct
- 4× m3 low profile brass insert or standard m3 nut to mount the cold end fan
- 3× standard brass insert to mount the part end fan
- 1× zip tie to tie the cables
Mounting instructions
This requires a bit of skill and understanding of the printer because I haven’t made a simple to understand step-by-step guide. If you run into trouble, just contact me and I’ll help you in the right direction. These instructions explain briefly what has to be done together with some tips:
- If this is your only printer, make sure that all parts are printed 😉 (it’s recommended to have a second printer).
- Disassemble the printer until you get the Y gantry out. This requires a bit of patience and fiddling because there is not much play in those profiles.
- Cut the 2020 profile to length (365 mm).
- Prepare the guiding blocks by placing the inserts, bearings and set screws.
- Prepare the carriage to be able to hold a vertical belt. I did this by screwing in two m3×20 screws into the slit as I’ve shown in the video. If you have another carriage, you might need to get creative.
- Mount the guiding blocks together with the hotend carriage to the profile (don’t tighten the M5 screws just yet). The video shows in one clip a wrong orientation, the proper orientation is as shown below:
- Mount the Y-belt.
- Place the assembly back on the printer. Everything should fit like the stock assembly did.
- Tighten the m5 screws which hold the blocks to the profile.
- Mount both X-belts which can be pushed in the guiding blocks and make sure that the gantry stays perpendicular.
- Mount the fans in the fan duct (place four m3 washers between the cold end fan and the duct so the fan runs freely.
- Mount the heater and thermistor.
- Mount the duct to the carriage, adjust the height and make sure that the duct is as far away as possible from the heat block (a silicon sock is recommended).
- Make sure that you tighten the Y-motor cable because chances are that the printer will loose steps since this is in contant motion.
- Tune the e-steps
Now you should be able to print with an aftermarket hotend. If I have forgotten anything, please let me know!
You must be logged in to post a review.


Reviews
There are no reviews yet.