IKEA Hacking to Silence a Noisy PC
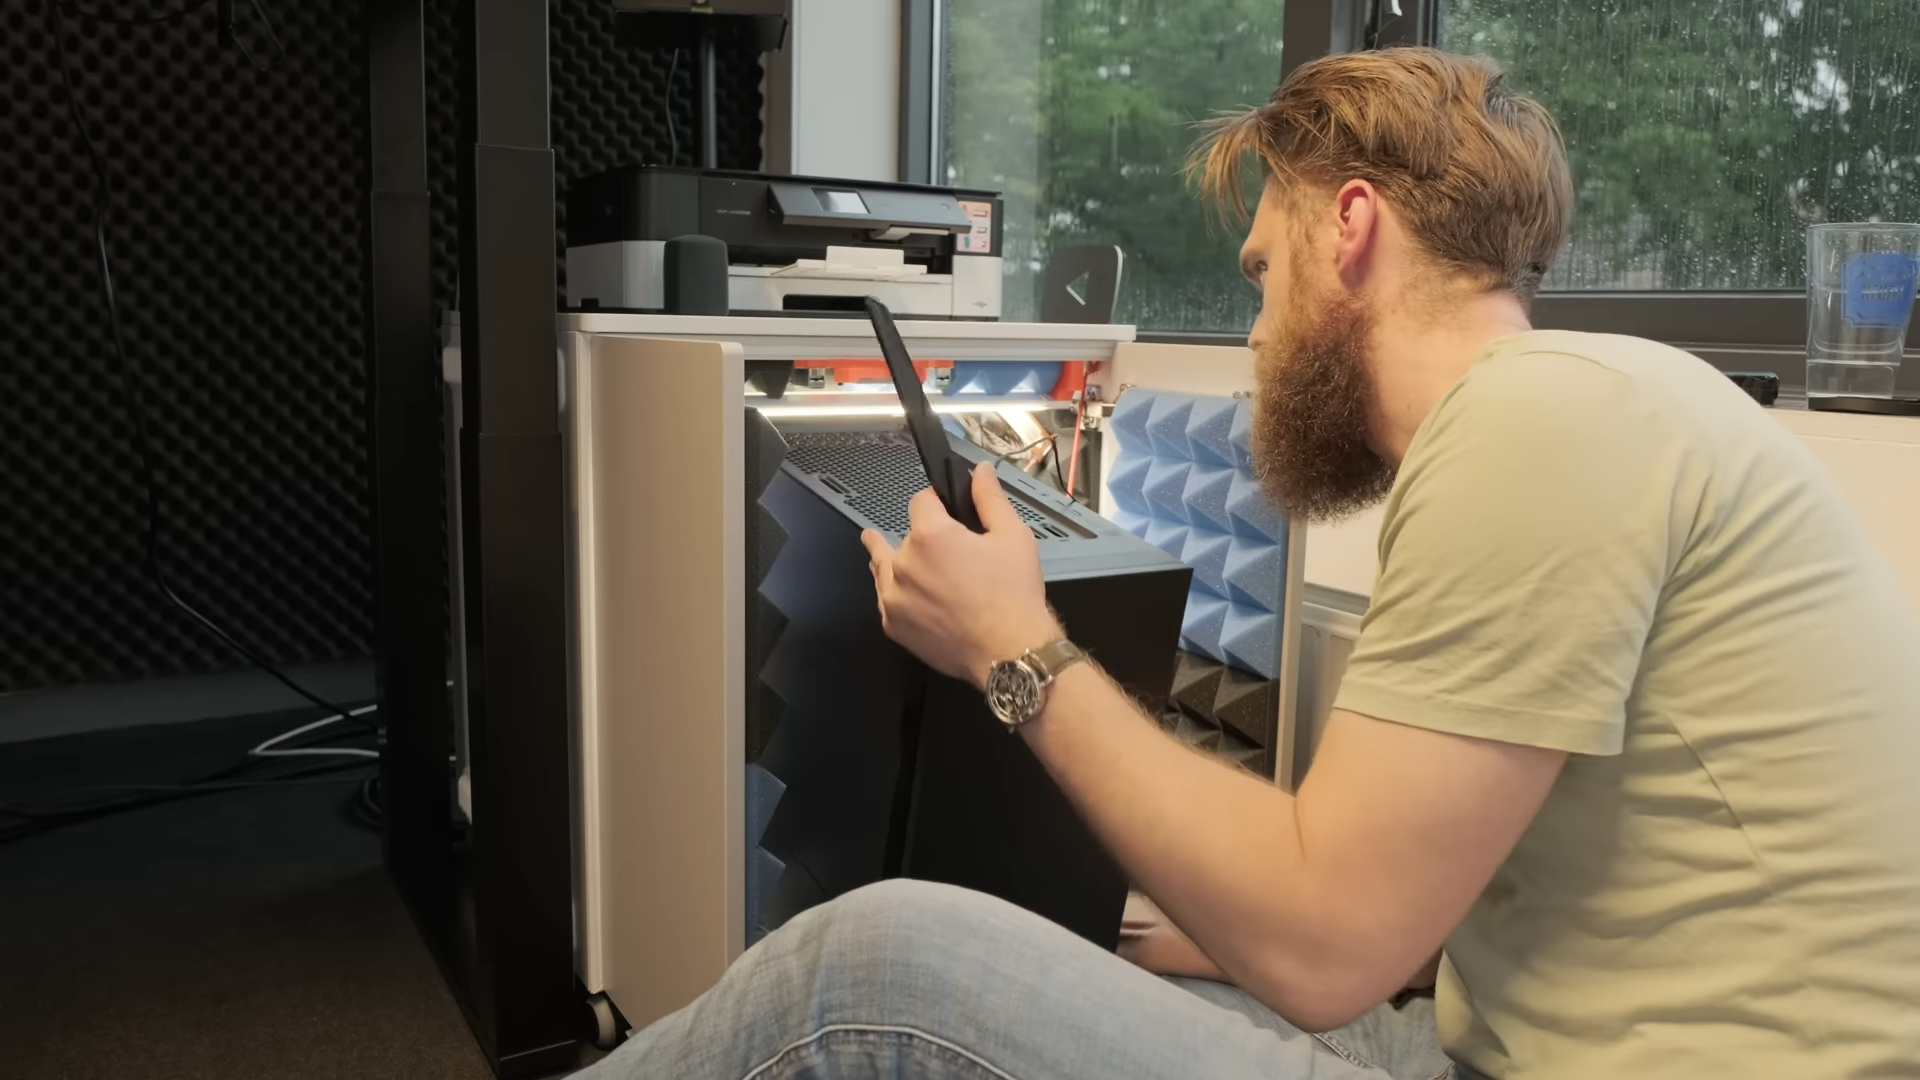
A powerful computer, like the kind you might use for gaming, CAD, or video editing work, requires a lot of electricity to make the bits and bytes do their dance at great speed. That electricity ultimately becomes waste heat and the computer needs a cooling system to dissipate the heat before it does damage. But some fans used for cooling get very noisy, which is why Jón hacked an IKEA cabinet to construct the ultimate stealth PC enclosure.
The typical gamer may not care much about noisy PC fans or water cooling pumps (especially if they wear headphones), but that sound is a big deal for someone who records video and audio in their office, as Jón does. In the past, he either had to turn the computer off while recording or try to edit out the noise in post. This is an attempt to solve the problem by putting the PC inside a soundproofed cabinet.
This was a bigger challenge than you might assume, as soundproofing isn’t a trivial task and Jón still had to ensure that the PC would remain cool through heavy workloads. He started with an inexpensive IKEA PLATSA cabinet (a product line available in Europe, but not the United States) and then turned it into a completely custom enclosure.
Soundproofing
The most effective way to stop noise in its tracks is to use a medium, like foam, that is dense enough to block soundwaves without being so dense that they resonate. Jón used thick foam acoustic panels, cut on an xTool P2 laser cutter using DXF files based on his “digital twin” 3D CAD model of the cabinet.
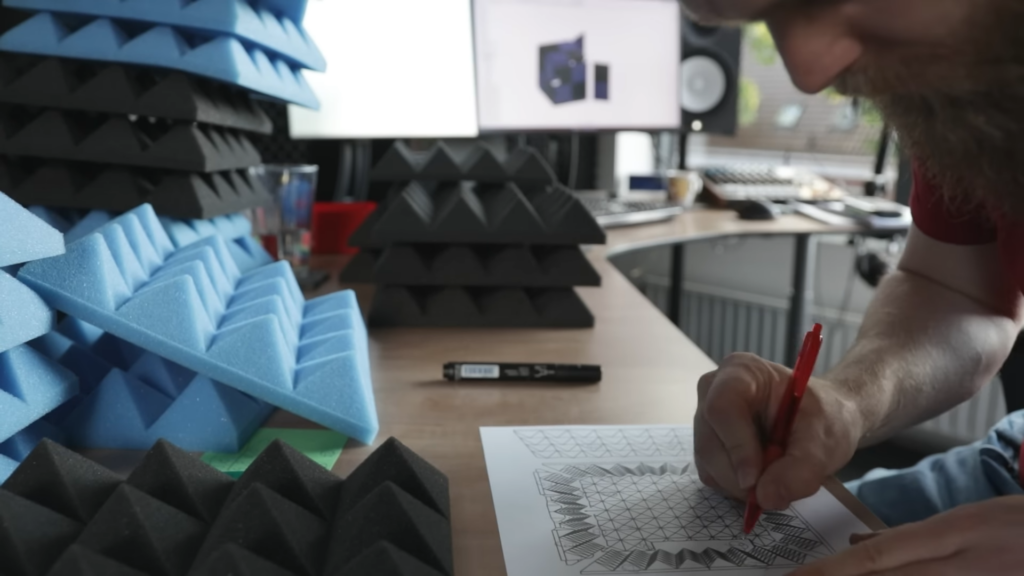
Disclaimer: if you’re doing a project like this, double-check to make sure that your foam material is safe for laser-cutting. Some materials are very toxic when they burn and are not safe.
Jón was able to attach the foam panels to the interior of the cabinet using wallpaper glue. Some foam weather stripping, cut using a 3D-printed jig, helped to prevent sound leaks.
Suspension System
The foam alone would stop most soundwaves moving through the air inside the cabinet, but Jón also needed to stop contact noise—vibrations moving from the computer through the case’s feet and out through the cabinet. His solution was to suspend the PC within the cabinet, so it doesn’t make physical contact with the cabinet via any rigid material.
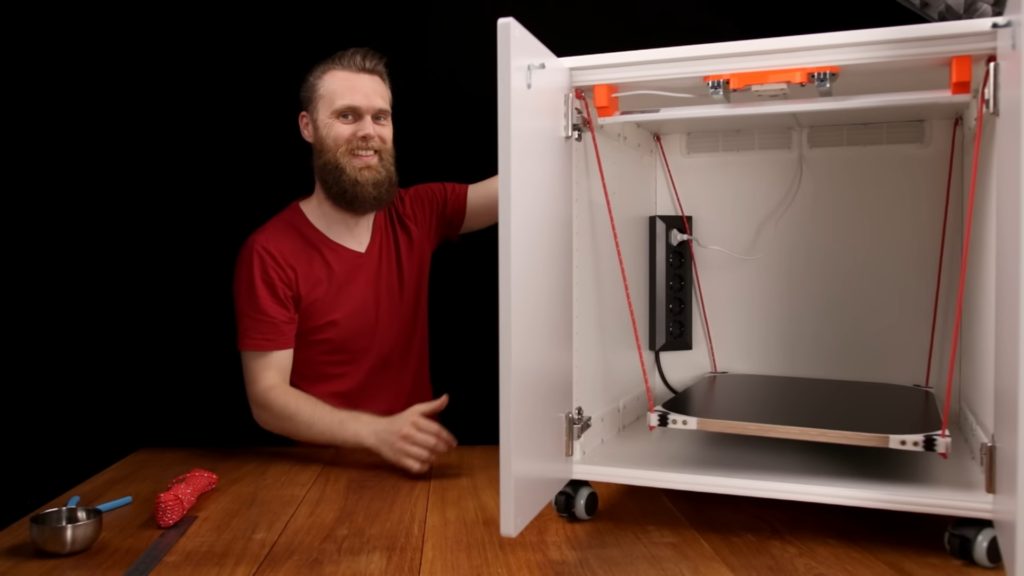
To achieve this, he attached cords to the top of the cabinet’s interior at each of the four corners and then to a wood platform. The computer rests on that platform, secure but only making contact with the cabinet through cords that don’t transmit vibrations enough to be an issue.
3D-Printed Vent Filters
A sealed box might keep sound in, but it would also keep the heat in. Jón needed some vents to allow airflow. However, he didn’t want dust getting inside and so he needed filters.
All of the filters available online are made of PVC, which stands for “Polyvinyl Chloride.” If Jón laser-cut those to shape, he would have generated dangerous chlorine gas (remember the disclaimer from the soundproofing section).
But while attending Maker Faire Prague, Jón received some very good advice from Josef Prusa himself. He suggested that Jón 3D-print the vents with filters built-in, using slicer settings to produce a fine mesh.

As luck would have it, Prusa knows a thing or two about 3D printing and his advice was great. This simplified the CAD modeling, as Jón only had to model the filter as a thin panel. Then with some clever slicer tweaks (sparse infill and walls only, with zero top and bottom solid infill layers), he had nice filter-equipped vents straight from the printer.
Dual-Material ABS/TPU Parts
Jón also got to test the Prusa XL’s multi-material toolchanger system for several parts that needed a combination of rigid ABS and more flexible TPU. He used that combination for cable grommets and also the mounts for the platform suspension system.
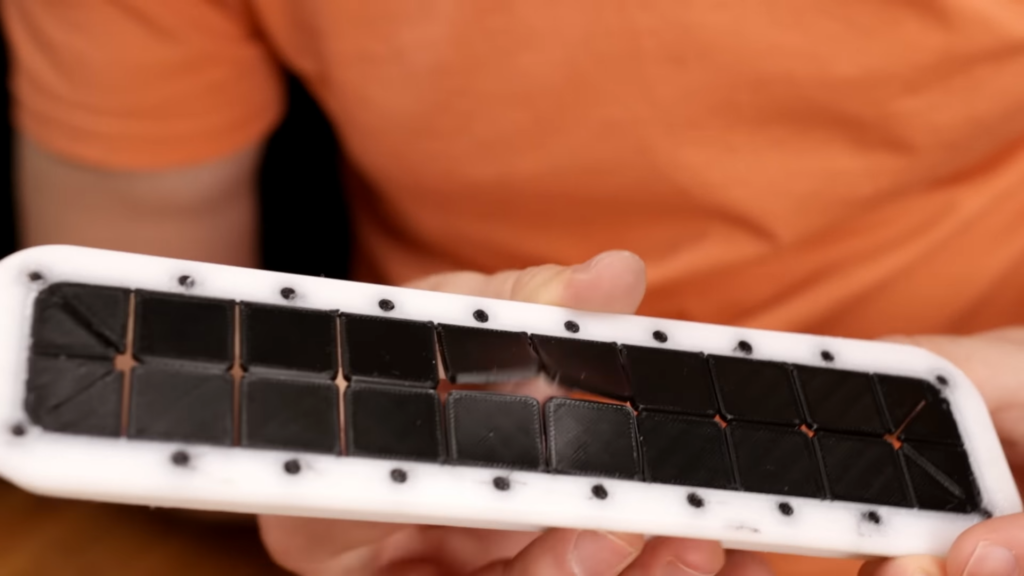
In the former case, the flexible TPU flaps help to seal the space around the cables entering the cabinet. In the latter case, the flexible TPU may help to further reduce transmitted vibrations.
“Mechanical OR” Light Switch
The IKEA PLATSA cabinet has two doors and Jón wanted interior lighting to come on when either or both of those doors was open. In essence, he wanted a logical OR switch for the LED lighting.
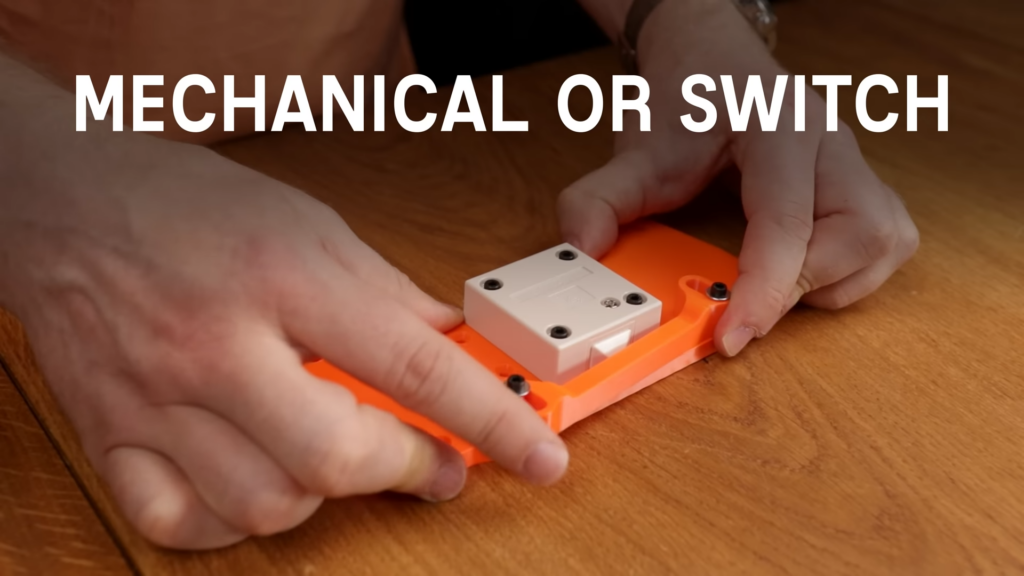
That would have been easy to achieve with a microcontroller and a couple of micro switches, but Jón designed a far more elegant solution in the form of a “Mechanical OR” switch. This is quite clever, because it has a floating arm that only pushes the switch when both doors are shut. If either door opens, that arm has enough room to lift and cause the switch to flip, providing power to the LEDs.
Remote Power Button
With the PC tucked away inside the cabinet, Jón didn’t have an easy way to access the power button. He needed some kind of remote—ideally a wireless remote—but there weren’t any good options on the market.
However, a PC’s power button is just a momentary switch. Pushing the button is the same thing as temporarily bridging the correct two pins on the motherboard with a jumper. A camera remote shutter release works in exactly the same way: pushing the button connects two wires.
Jón correctly inferred that he could use a battery-powered wireless remote shutter release as a power button for the PC. But he wanted the remote to have more style than the mass-produced black pucks that come with those systems and he turned to HEN3DRIK for some help.
In case you aren’t already familiar, HEN3DRIK is a YouTuber who specializes in electroplating 3D-printed parts. Electroplating is a method for adding a thin coat of actual metal, which can then be polished for a beautiful finish.
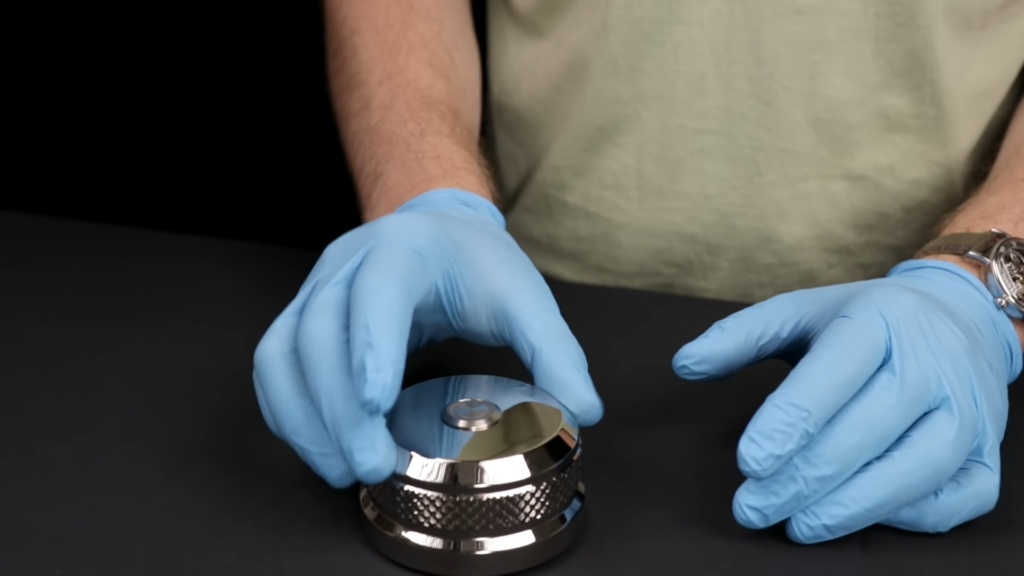
Jón designed an enclosure for the shutter remote, then resin-printed that on an Anycubic Photon Mono M5s Pro. He sent the print off to HEN3DRIK, who later returned the electroplated enclosure. It has a gorgeous mirror finish that looks absolutely stunning.
This remote can sit on top of Jón’s desk, giving him the ability to control power to the PC wirelessly. And because it was intended for a camera shutter, long presses (for hard resets) are possible.
The Final Product
Jón put a lot of work into this stealth PC enclosure and upon turning it on, he found that it was still louder than he had hoped. The cabinet lowered the noise a lot, but the PC was so loud that some sound still made it through.
The biggest reason for that was Jón’s choice of fans when he built the PC. He used Noctua NF-A14 industrialPPC-3000 PWM fans intended for rugged applications. Those are robust, but loud. They also don’t like to spin at low speeds and stalled if Jón lowered the RPM too much.
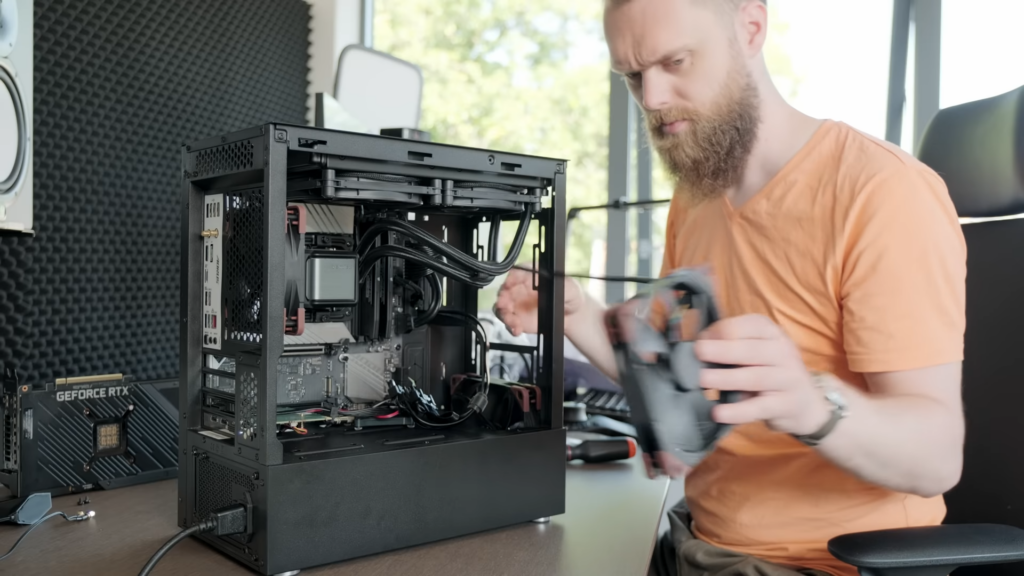
Luckily, he was able to solve that problem with some new low-noise fans meant for consumer PC cases. He also switched to a different AIO (All-in-One) liquid CPU cooler. The new AIO would have been too large to fit inside the PC case, but that isn’t an issue anymore since everything is hidden inside the cabinet. Jón was able to mount the AIO’s radiator to the outside of the PC case where there is plenty of room.
With these upgraded components and the soundproof cabinet, Jón can now play modern AAA games at max settings or edit 4K multi-cam video in nearly absolute silence.
