Modular camera slider
Suggested price: €3.00
Summary
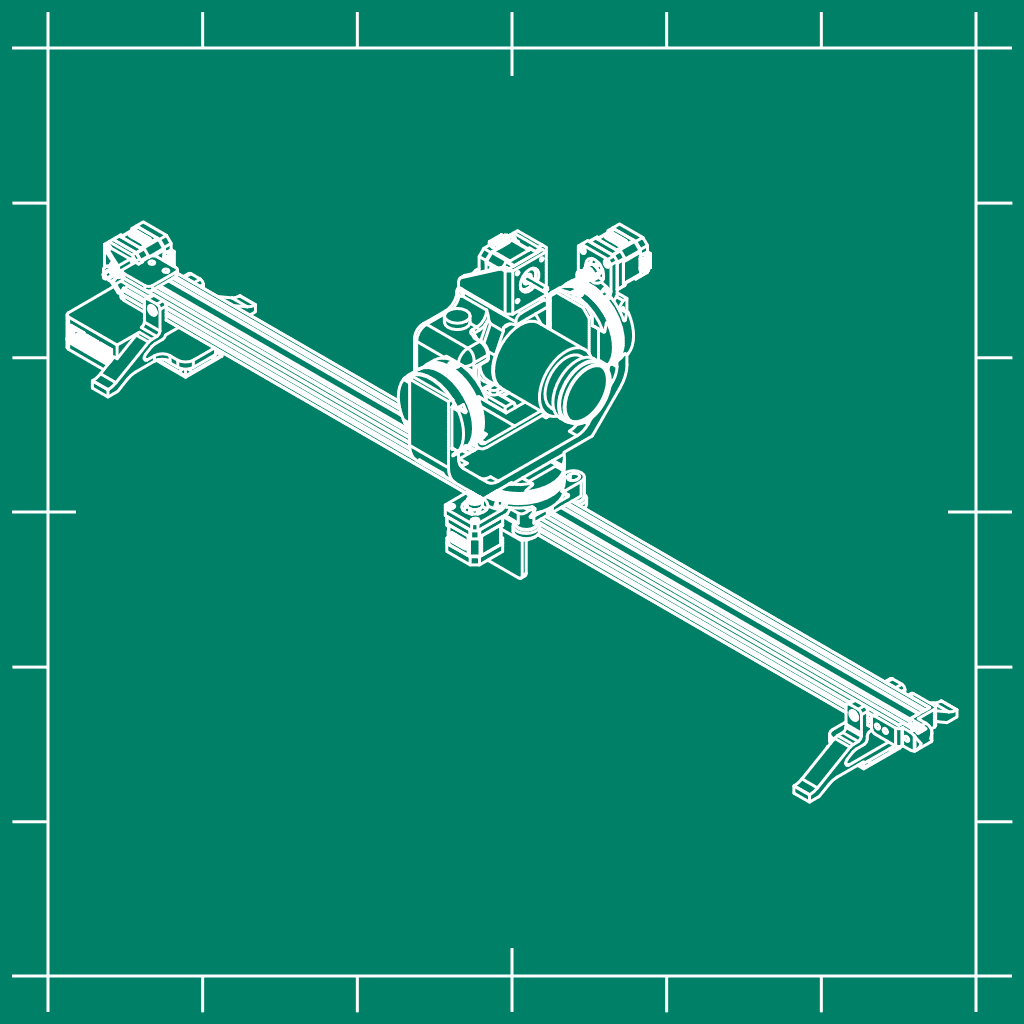
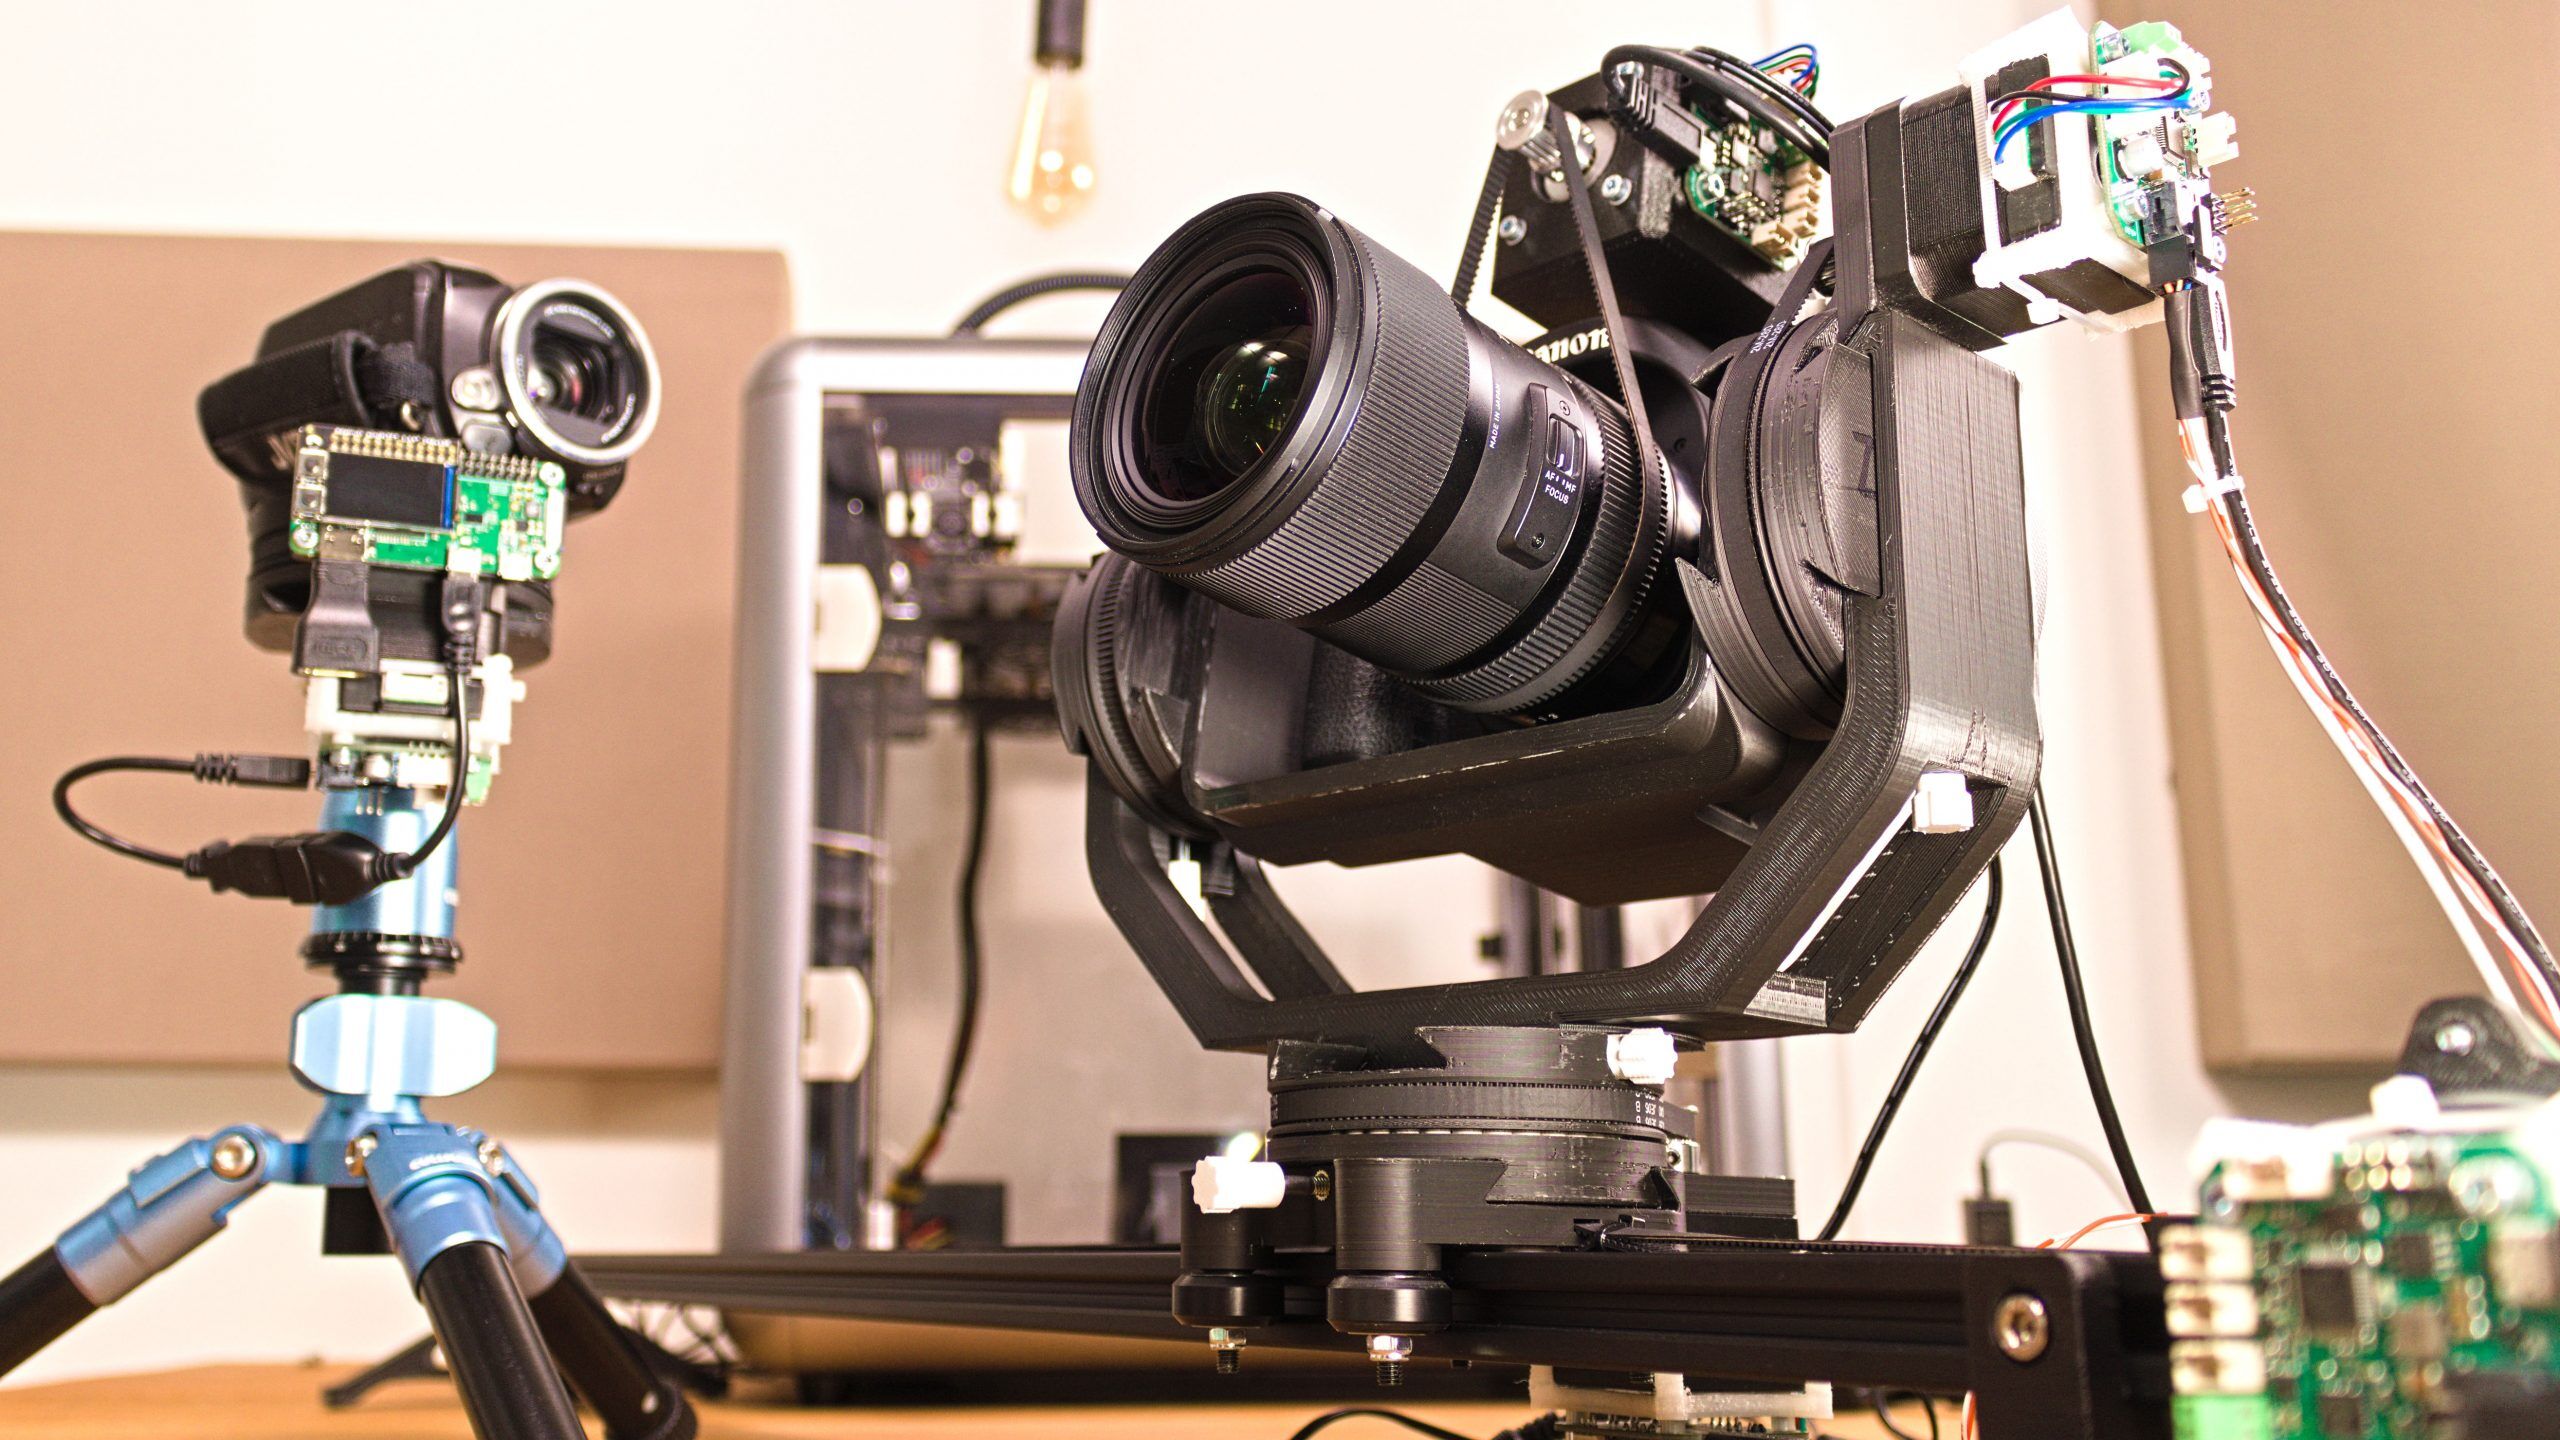
As the name suggests, this is a modular camera slider. I designed a generic dovetail connection which can be expanded. You can make a slider which only moves the camera linearly from point A to point B and you can add rotating platforms in between to make it rotate too. The generic dovetail connection has a safety feature in it that once the set screw is not fully tightened it can’t fall out due to the slot. Because this is generic I use it for my tripods as well and have one single camera mounting system for everything! I made a video in which I showcase this design together with some awesome camera movements and time lapses, enjoy!
PROPER PRINTING PROVIDES THE SOFTWARE AND DESIGNS TO YOU “AS IS” AND WITHOUT WARRANTY OF ANY KIND, EXPRESS, STATUTORY, IMPLIED OR OTHERWISE, INCLUDING WITHOUT LIMITATION ANY WARRANTY OF MERCHANTABILITY, FITNESS FOR A PARTICULAR PURPOSE OR INFRINGEMENT. NO ORAL OR WRITTEN INFORMATION OR ADVICE GIVEN TO YOU BY ANY PROPER PRINTING EMPLOYEE, REPRESENTATIVE OR DISTRIBUTOR WILL CREATE A WARRANTY FOR THE SOFTWARE, AND YOU MAY NOT RELY ON ANY SUCH INFORMATION OR ADVICE.
On a less formal note: Don’t hold me responsible if your expensive DSLR camera falls down on the floor for whatever reason.
Print settings
Printer: Standard printer
Rafts: Depends
Supports: Yes
Resolution: 0.2
Infill: 30%
Filament: ABS 3D4Makers
Notes:
I printed everything out of ABS, but I’d suggest to use a stiffer material like PLA, carbon filled filaments or polycarbonate. The base of the rotating platform has an edge along the circumference which has to be removed. This is done to make it able to be printed out of ABS.
Mounting instructions
The download contains a bill of materials (BOM) together with an exploded view which can be used as reference and to purchase the parts needed. Things you have to keep in mind while mounting this are mentioned in the notes of the BOM.
Firmware instructions
- Install Octopi on the Raspberry Pi https://octoprint.org/download/
- In order to prevent timeout issues when running very slow movements the timeout settings in Octoprint needs to be increased. I increased mine to 3600 seconds instead of 10. If something fails I just reboot the Pi which is not an issue for a camera slider.
- Connect the Raspberry Pi to a display, run raspi-config, enable SSH, I2C and SPI and enter your network information.
- It’s recommended to set your DHCP configuration in your router to give your Raspberry Pi a static IP address
- After a reboot you can connect to your Raspberry Pi through SSH using Tera Term or Putty
- Install Klipper on the Raspberry Pi and configure that in Octoprint https://www.klipper3d.org/Installation.html
- The documentation on the Huvud page explains using CAN. The CAN hats don’t work properly and I just used USB which works fine and is a lot easier to install
- Flash all Huvud boards individually
- Place a jumper on the bootloader pins
- Connect the power connector before enabling the PSU or power adapter
- Enable PSU or power adapter
- Connect USB
- Flash the Huvud board with make flash FLASH_DEVICE=1209:beba sometimes a few tries are needed
- Create a config file on the Raspberry Pi by entering sudo nano /home/pi/printer.cfg and copy the contents of the example config file as found in the download
- Modify this file locally in Notepad
- Replace the paths under [mcu], [mcu mcu2] etc. by using ls /dev/serial/by-path/*
- If you don’t want to use all boards, you can use non-existing pins. These are commented in the configuration file. So for instance, instead of using mcu2:PB3 you can use PA15 which is an non-existing pin on the default MCU
- Copy the contents of this file and paste it into the file opened on the Raspberry Pi
Everything should work now. It’s a lot of information and I had to figure out a lot of stuff to get this working so chances are that I’ve missed something in this explanation. Please let me know when something is missing or is explained incorrectly.
Blender instructions
The download consists out of two Blender examples. The Python script which can be found in the scripting tab is originally made by Stephen Hawes. I added some functions to it, among them:
- Added a timestamp the the Gcode export so the file isn’t overwritten
- Added the possibility to change the viewing angle of the lens by using the extruder motor
- Added focal length min and max
- Added lens invert (start zoomed in or out)
- Added the possibility to split the movement using two different speeds. Otherwise the slider can take a long time to get to the initial position
- Possibility to choose to disable the stepper motors at the end or not (can be useful when using ramps)
The camera has three possible movements, X, Y, Z and Extrusion. The X represents translation, Y horizontal rotation and Z vertical rotation. The extruder is used for modifying the camera viewing angle. These movements can be animated in Blender within the animation tab. This shows a timeline from 0 to 3600. This value can be changed at the bottom if preferred. The location X of the CameraObject is used for translation in meters. This can be found in the Object properties (orange rectangle). The Y and Z rotation are adjusted with rotation Y and Z respectively. To modify the viewing angle you need to select the camera. This value can be changed in the Object Data Properties (green camera symbol). This is represented in the images below.
Be aware that the initial position of the camera is at the beginning of the linear movement, facing straight forward and horizontal. The lens can be zoomed all the way in or out depending on the setting within the script.
You must be logged in to post a review.


Reviews
There are no reviews yet.