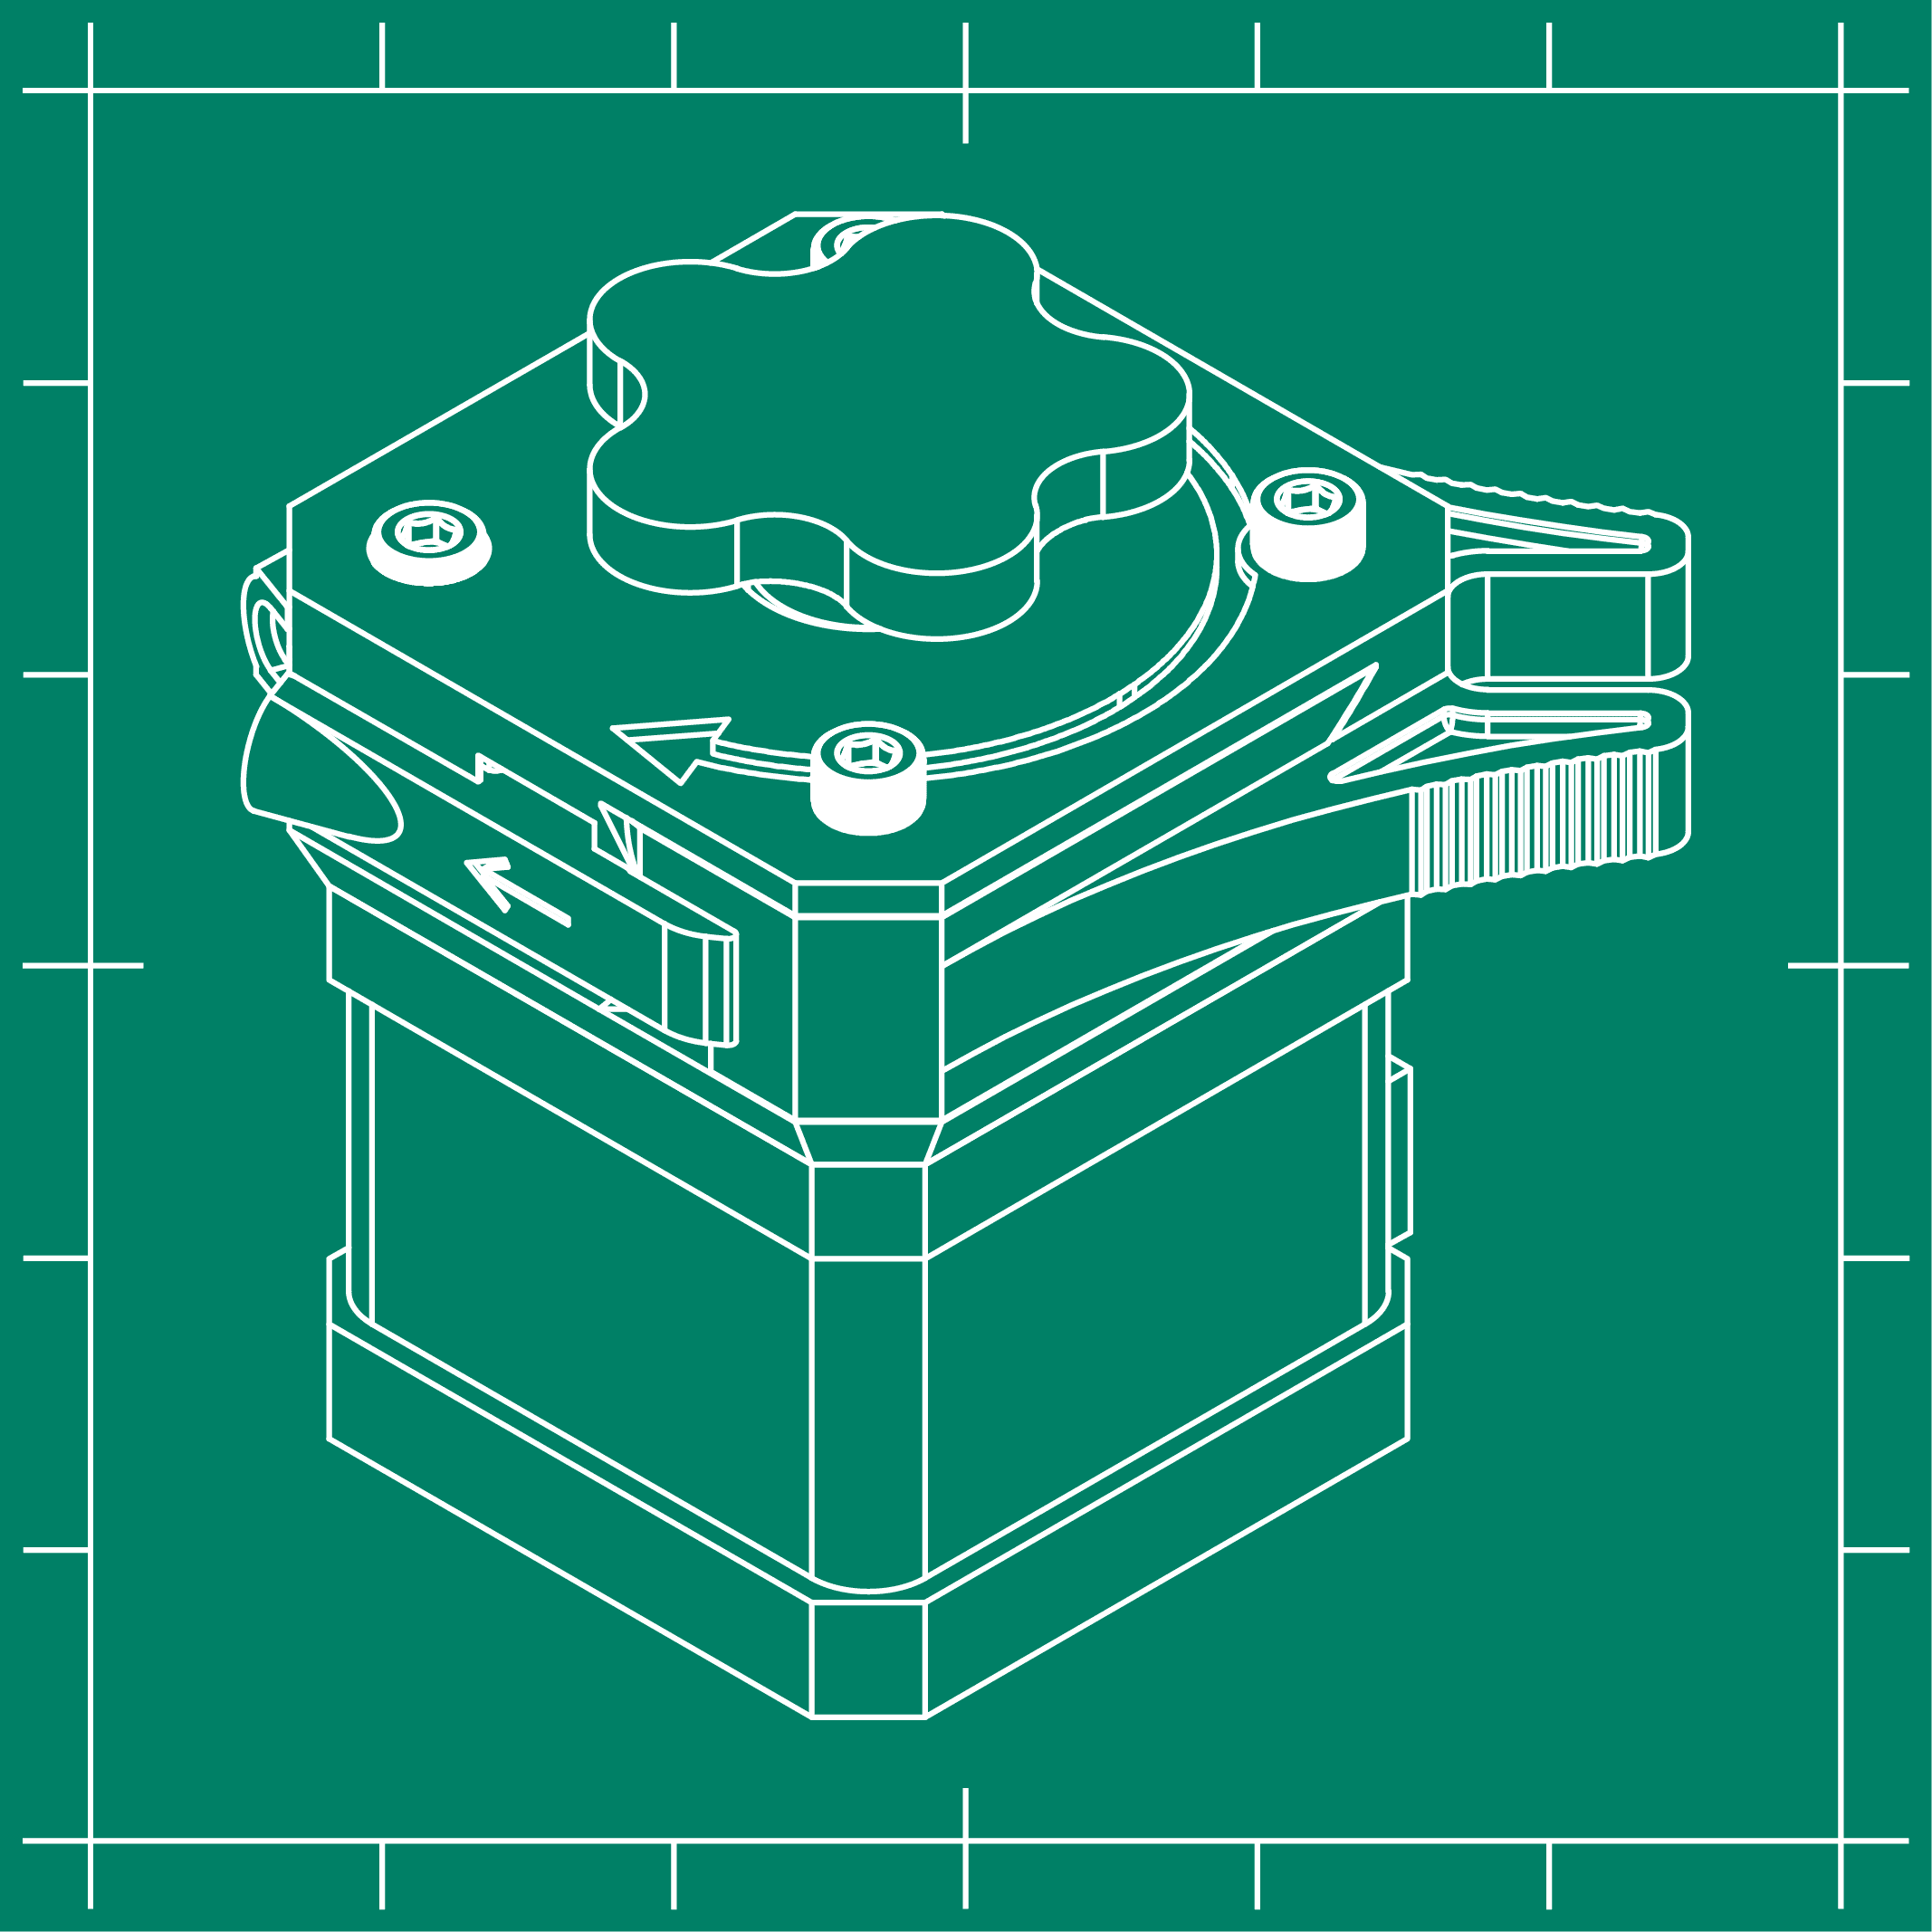
Non-pulsating peristaltic pump
Suggested price: €6.00
Summary
This is a specialized peristaltic pump, initially used for FDM resin printing. A normal peristaltic pump pulsates which would be problematic for that purpose. The camber of this pump has a spiral shape so the pulse is stretched which creates a non-pulsating flow on the outlet. Besides printing resin this pump can be used for other applications as well which will be explored in future videos. The main reason for using a peristaltic pump is the fact that the mechanics don’t come in contact with the fluid. Especially for resin this is a nice feature, but this makes it also food safe (when using the right tubing) and can enable food printing.
Be aware that this pump is experimental and could undergo changes depending on the feedback I get and the course of my research on this topic. If you encounter any issues, let me know!
I made several videos where this pump is used.
Print settings
Printer: Any FDM or resin printer
Rafts: No
Supports: Yes
Resolution: 0.05 (resin) or 0.2 (FDM)
Infill: –
Filament: Any regular resin/filament will work
Notes:
IMPORTANT! Some tolerances are quite tight and depending on the 3D printer and print settings could lead to unsatisfying results. Especially the roller cage can be tricky with the bearings. If you encounter any issues, please let me know! I can adjust these tolerances and add this as a tight or loose versions. Fortunately not much plastic is wasted if it doesn’t fit since the parts are pretty small.
I printed this pump successfully out of resin and out of PLA. The slider requires some flexibility, so if that part is printed out of resin which is too brittle it might break.
Parts needed & tools required
All 3D printable parts must be printed once except for the roller (5x)
| QTY | Description | Link* |
| 10 | MR85ZZ Miniature ball bearing | https://geni.us/5EXACIH |
| 1 | Stepper motor | https://geni.us/w1Yac |
| 1 | M3 brass insert | https://geni.us/su33B |
| 1 | M3 x 8 countersunk screw | https://geni.us/yWAw |
| 2 | M3 x 6 standoff | https://geni.us/YEyim |
| 5 | M3 x 10 rounded head screw | https://geni.us/Xg6PYG |
| 5 | M3 x 0.5 nut | https://geni.us/Y51d |
| 1 | M3 x 8 rounded head screw | https://geni.us/RuQPiX |
| 2 | M3 x 12 rounded head screw | https://geni.us/OQQrX |
| 1 | M3 x 20 rounded head screw | https://geni.us/2DTvfGn |
| 1 | 4mm silicon tubing | https://geni.us/DdfUJSq |
| 1 | Loctite 406 super glue | https://geni.us/fGqy |
*Commissions are earned from the links above which help funding this project. If you have found a better alternative for a component, please let me know!
Required tools
- Allen key set
- Press or vice
Mounting instructions
Assembly
- Assemble the roller cage.
- Press in the M3 nuts in the bottom six-sided holes of the roller cage base.
- Press the bearings in the rollers.
- Press the rollers with bearings on the pillars of the base. Make sure to do this in a straight motion since the walls of the pillars are quite thin.
- Place the roller cate top on top and fasten it using the M3×10 screws
- Mount the base plate to the motor with the two stand offs at each side and the M3×8mm countersunk screw.
- Press the roller cage assembly on the shaft of the motor to the point where the bottoms of the wheels are slightly above the base.
- Melt or glue the M3 insert into the slider.
- Mount the lid on top of the base with the M3×20 screw.
- Press the knob on the shaft of the motor
Usage
Place the tube around the cage and press the inlet and outlet parts on the tube. The arrows show the direction and the triangle that’s sticking out must be on top. This triangle can be placed into the cavity of the lid after which it can be pushed aside. It requires some trial and error to get this right.
Placing the slider can be a PITA and it will push the tube between two rollers and can fold the tube. You need to get confident and right feeling to get this correct. I often put some tension on the tube without ripping it apart to make it slide. If people encounter too much issues I’ll make a quick tutorial video explaining this process.
Let me know if you run into issues!
You must be logged in to post a review.

Reviews
There are no reviews yet.