Custom D-sub connector
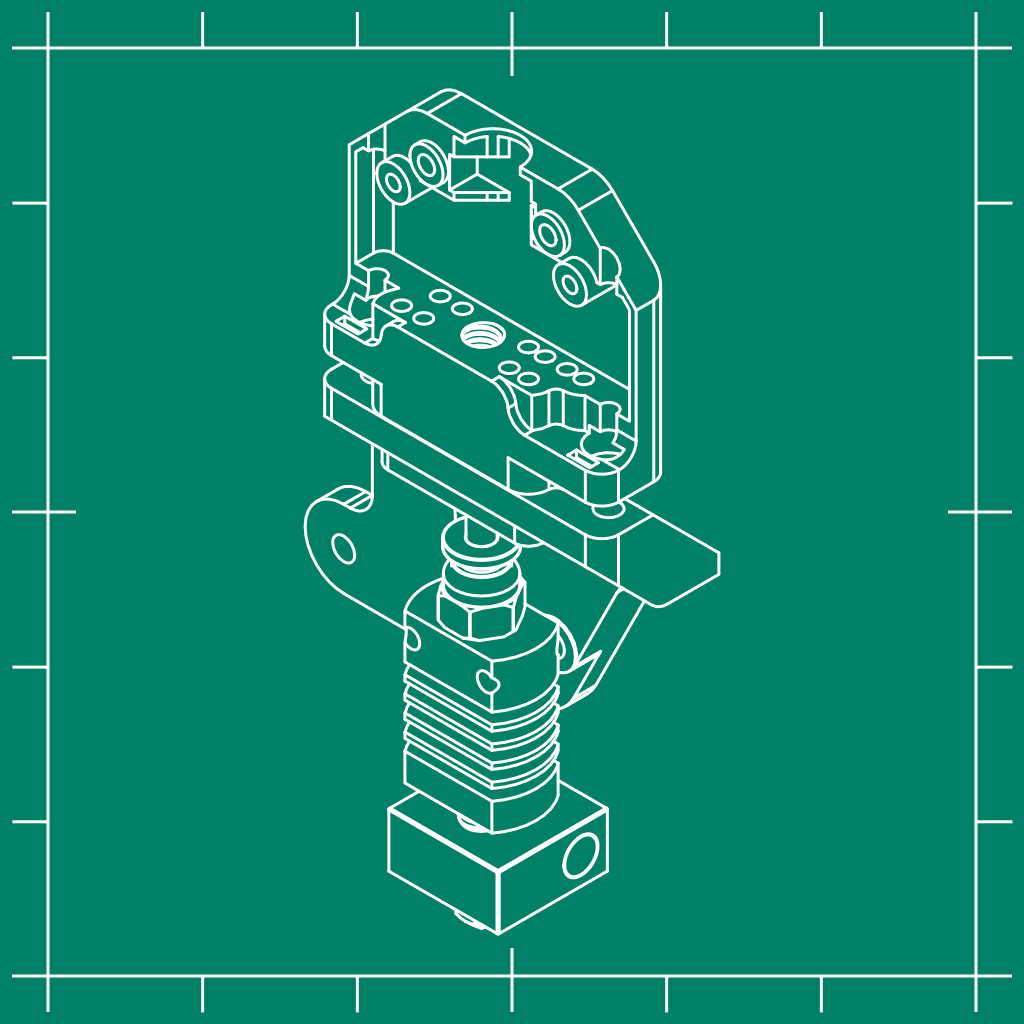
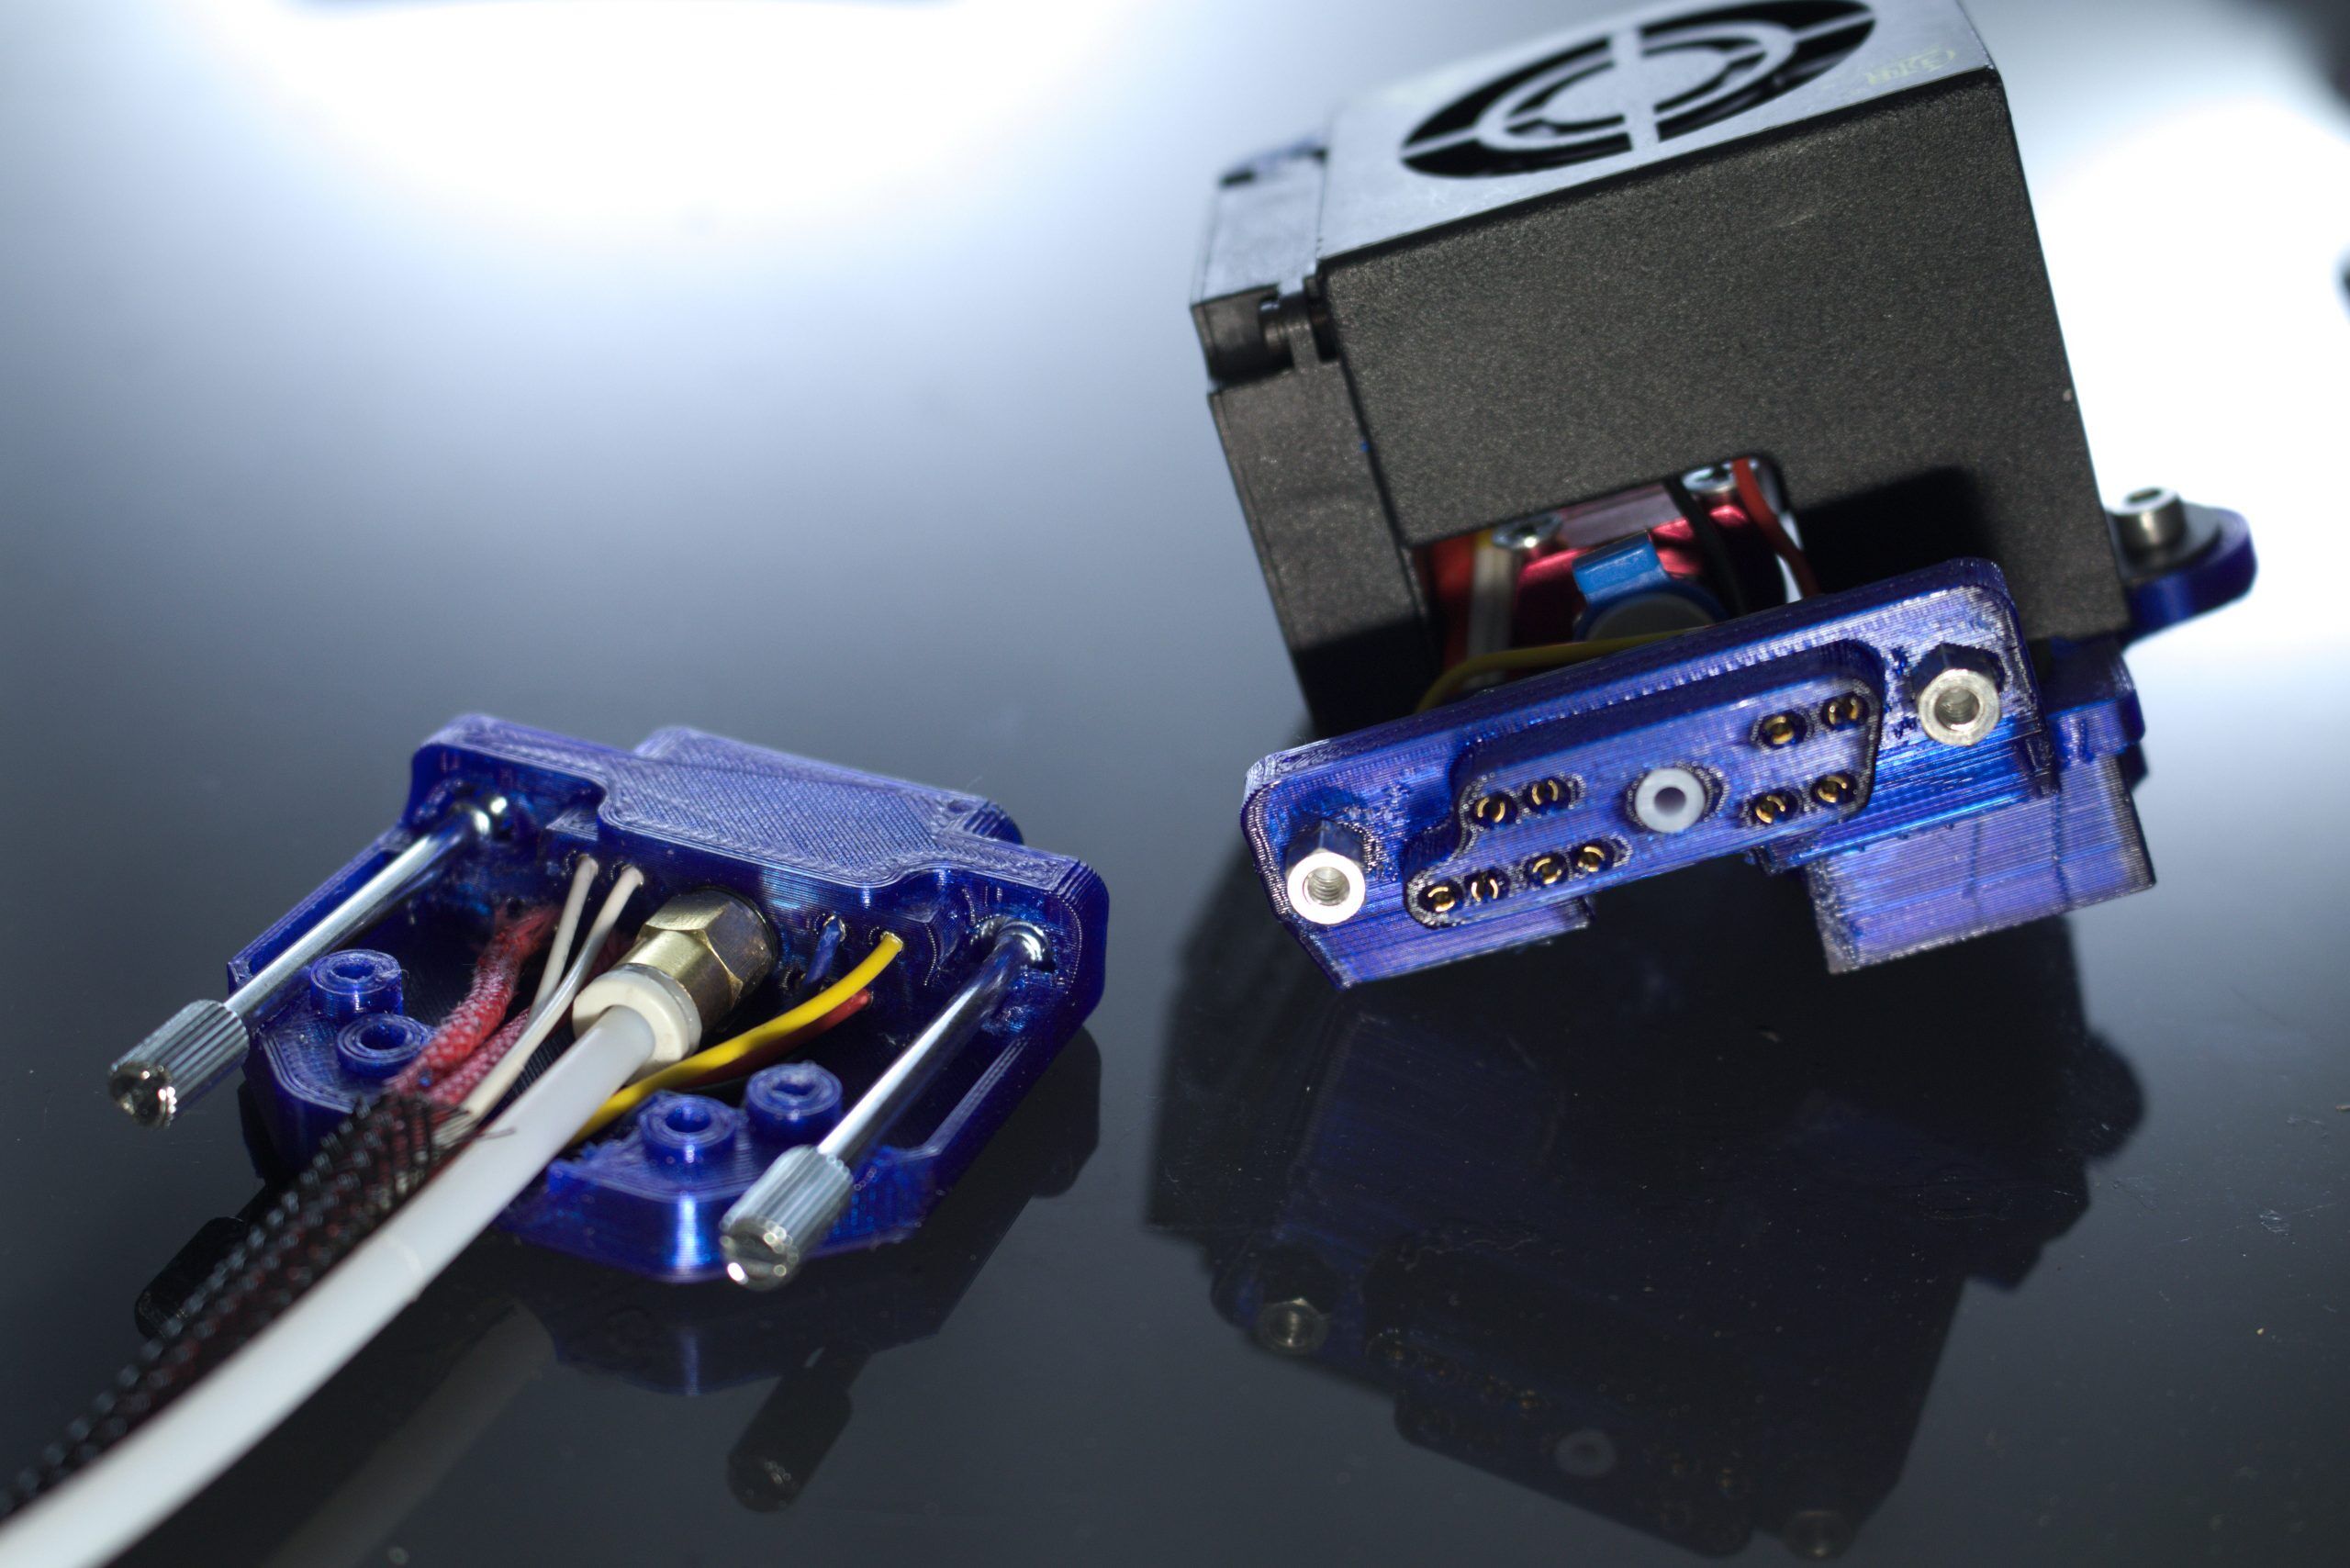
A custom D-sub connector which enables to make custom configurations and embed specific features.
Suggested price: €3.00
Summary
How awesome would it be if it would be possible to make custom connector configurations with very specific features?! Well, this is what went through my head and I started designing. I’ve done this in the past for a specific connector at my work where several jumpers needed to be set automatically. Instead of placing several jumpers I printed a connector with a specific pitch which fitted all these jumper connections at once. I’ve continued working on that idea and came with a tool holder with an embedded connector.
The download consists of the custom connector tool holder together with (fe)male (power) connector segments to make your own configurations. I move the segments to meet my configuration and combine these with the rest of a body which I design around it.
I definitely want to build upon this idea so I’m definitely not finished with this one! Some possibilities I see with this method are:
- Grouping specific functions in one connector
- Embedding connectors in enclosures or other features like a cable chain as I’ve done here
- Adding features which do not exist yet in connectors (like a shaft connection)
- Combining different connection types
- probably more that I haven’t thought of right now 😉
I’ve made a video about this connector idea in which you see me struggling a lot xD
Print Settings
Printer: Creality Ender 3 pro
Rafts: No
Supports: No
Resolution: 0.2
Infill: 30%
Filament: PETG
Notes:
Like you can see in the video I’m struggling a lot. This was due to the lack of a proper crimp tool, but also due to the very small error that is allowed. The connection should click in place without too much force and it should stay in place. You’ll find out that this is not easy 😉
You must be logged in to post a review.


Reviews
There are no reviews yet.